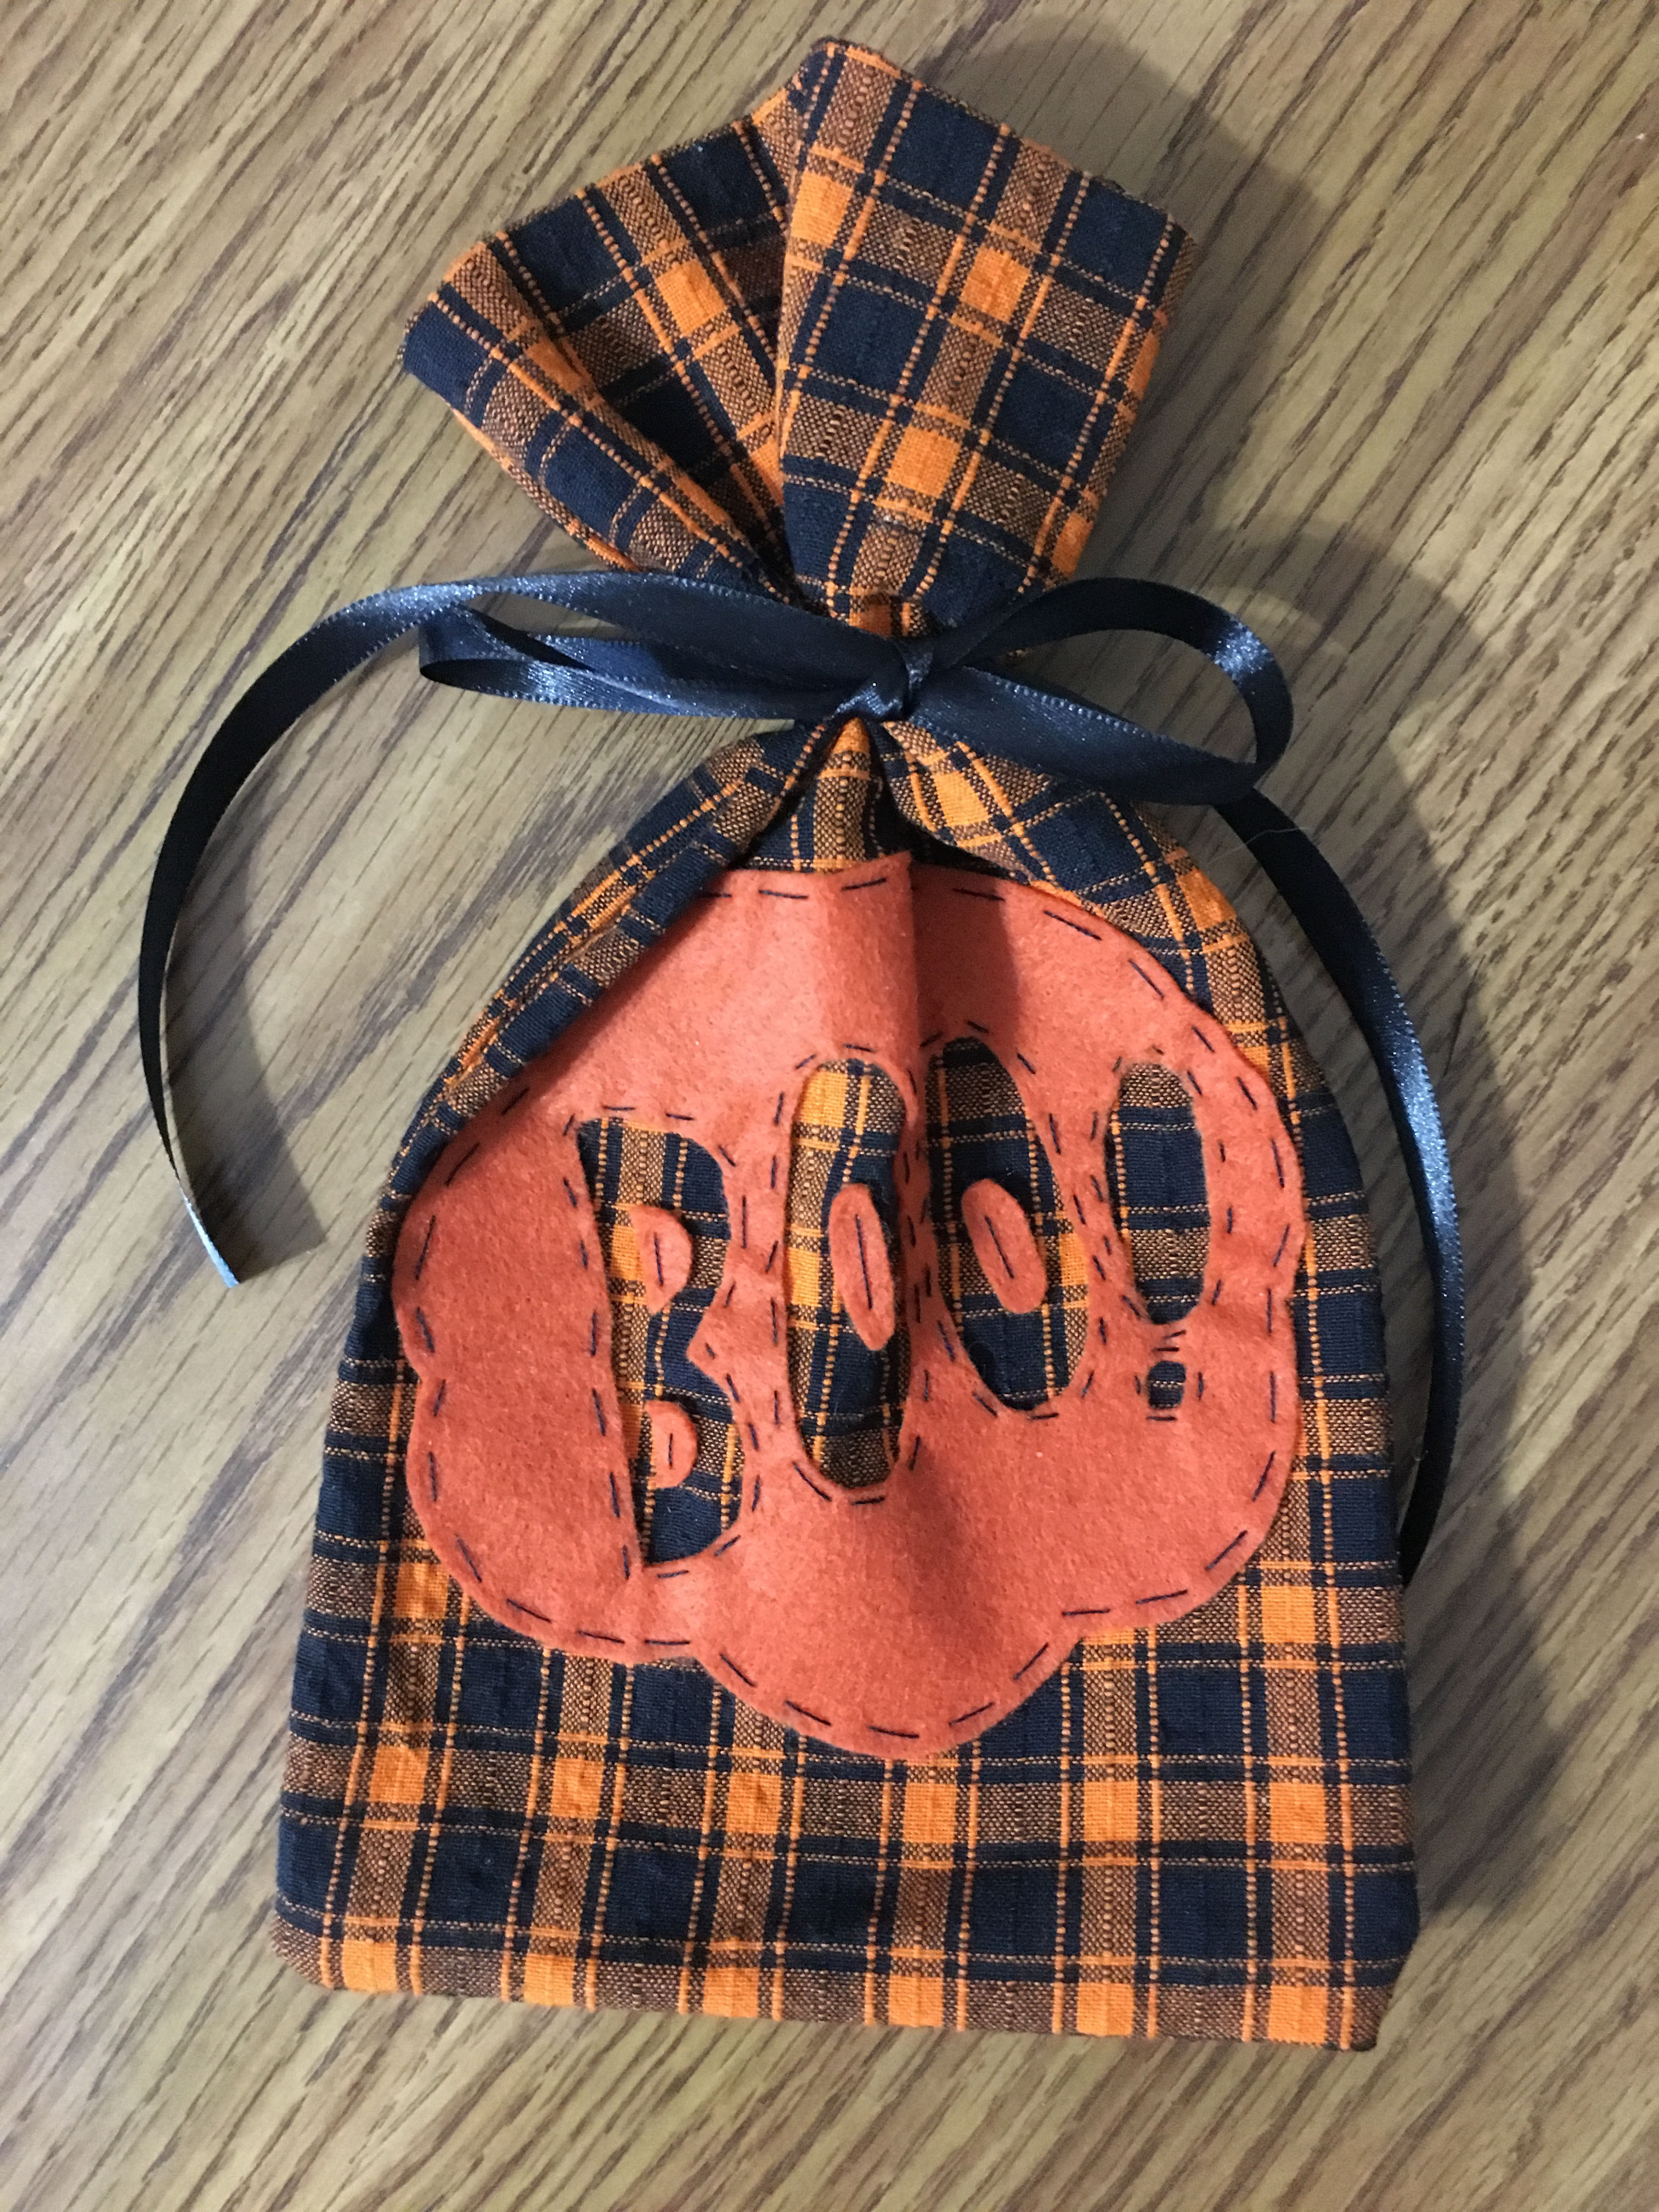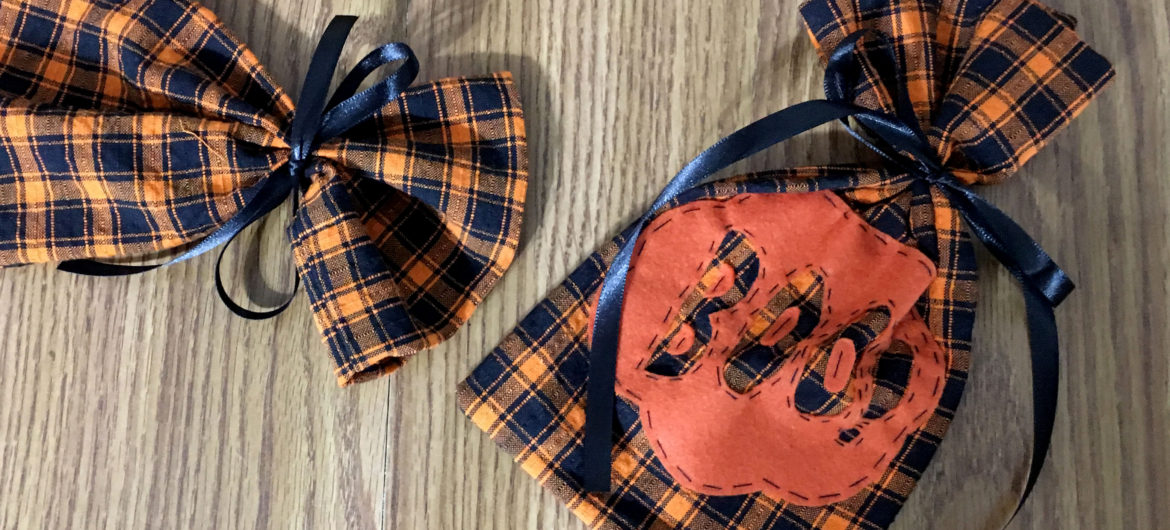
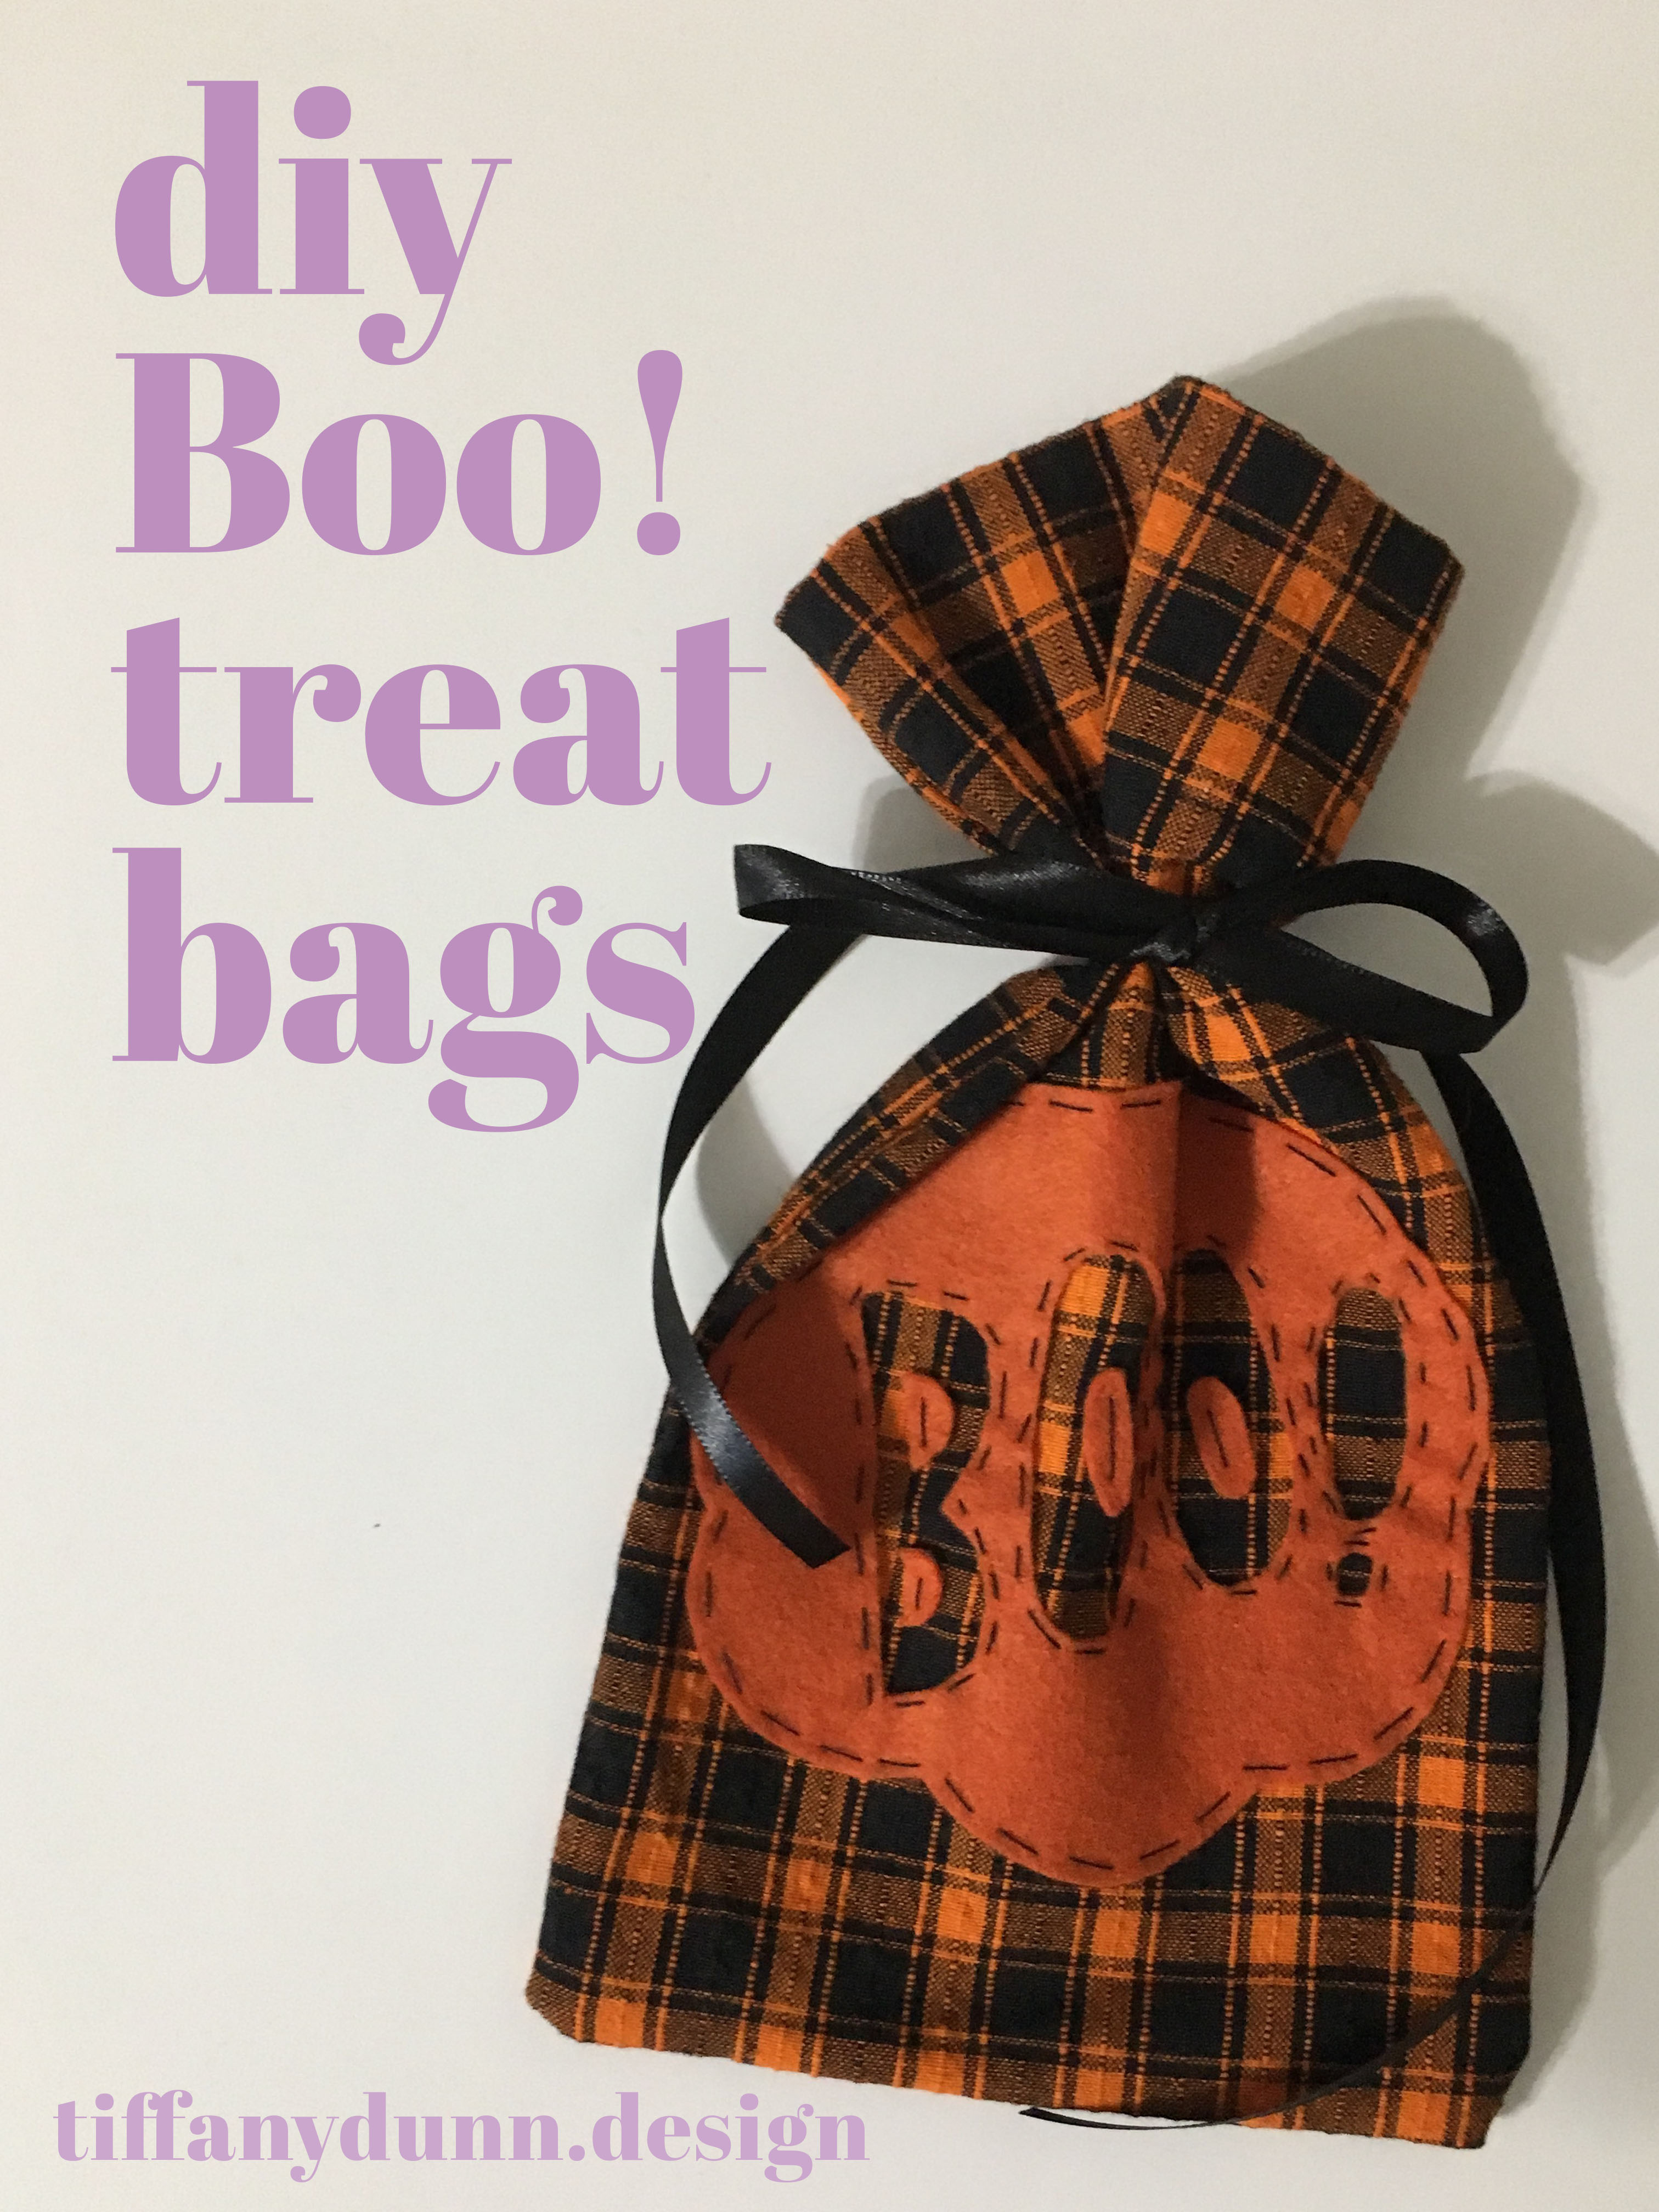
Making things yourself is so much fun and Halloween is a great time for getting really creative with DIYs. Between the costumes, treats and decorations, there’s so many things you could make! I’m really excited to share with you how I made these adorable Boo! Treat bags! The bags themselves are really quick and easy to sew and they close by tying a ribbon around the top. I found this fabric at Hobby Lobby and it has been so perfect for this project! It looks so good with the design on the front! In the first part of this post I’ll show you how I made the bag itself. You could use pre-made bags as well but making your own gives you a lot more possibilities. In the second part I’ll show you how to make and apply the Boo! design to the front.
Part 1: Making The Bag
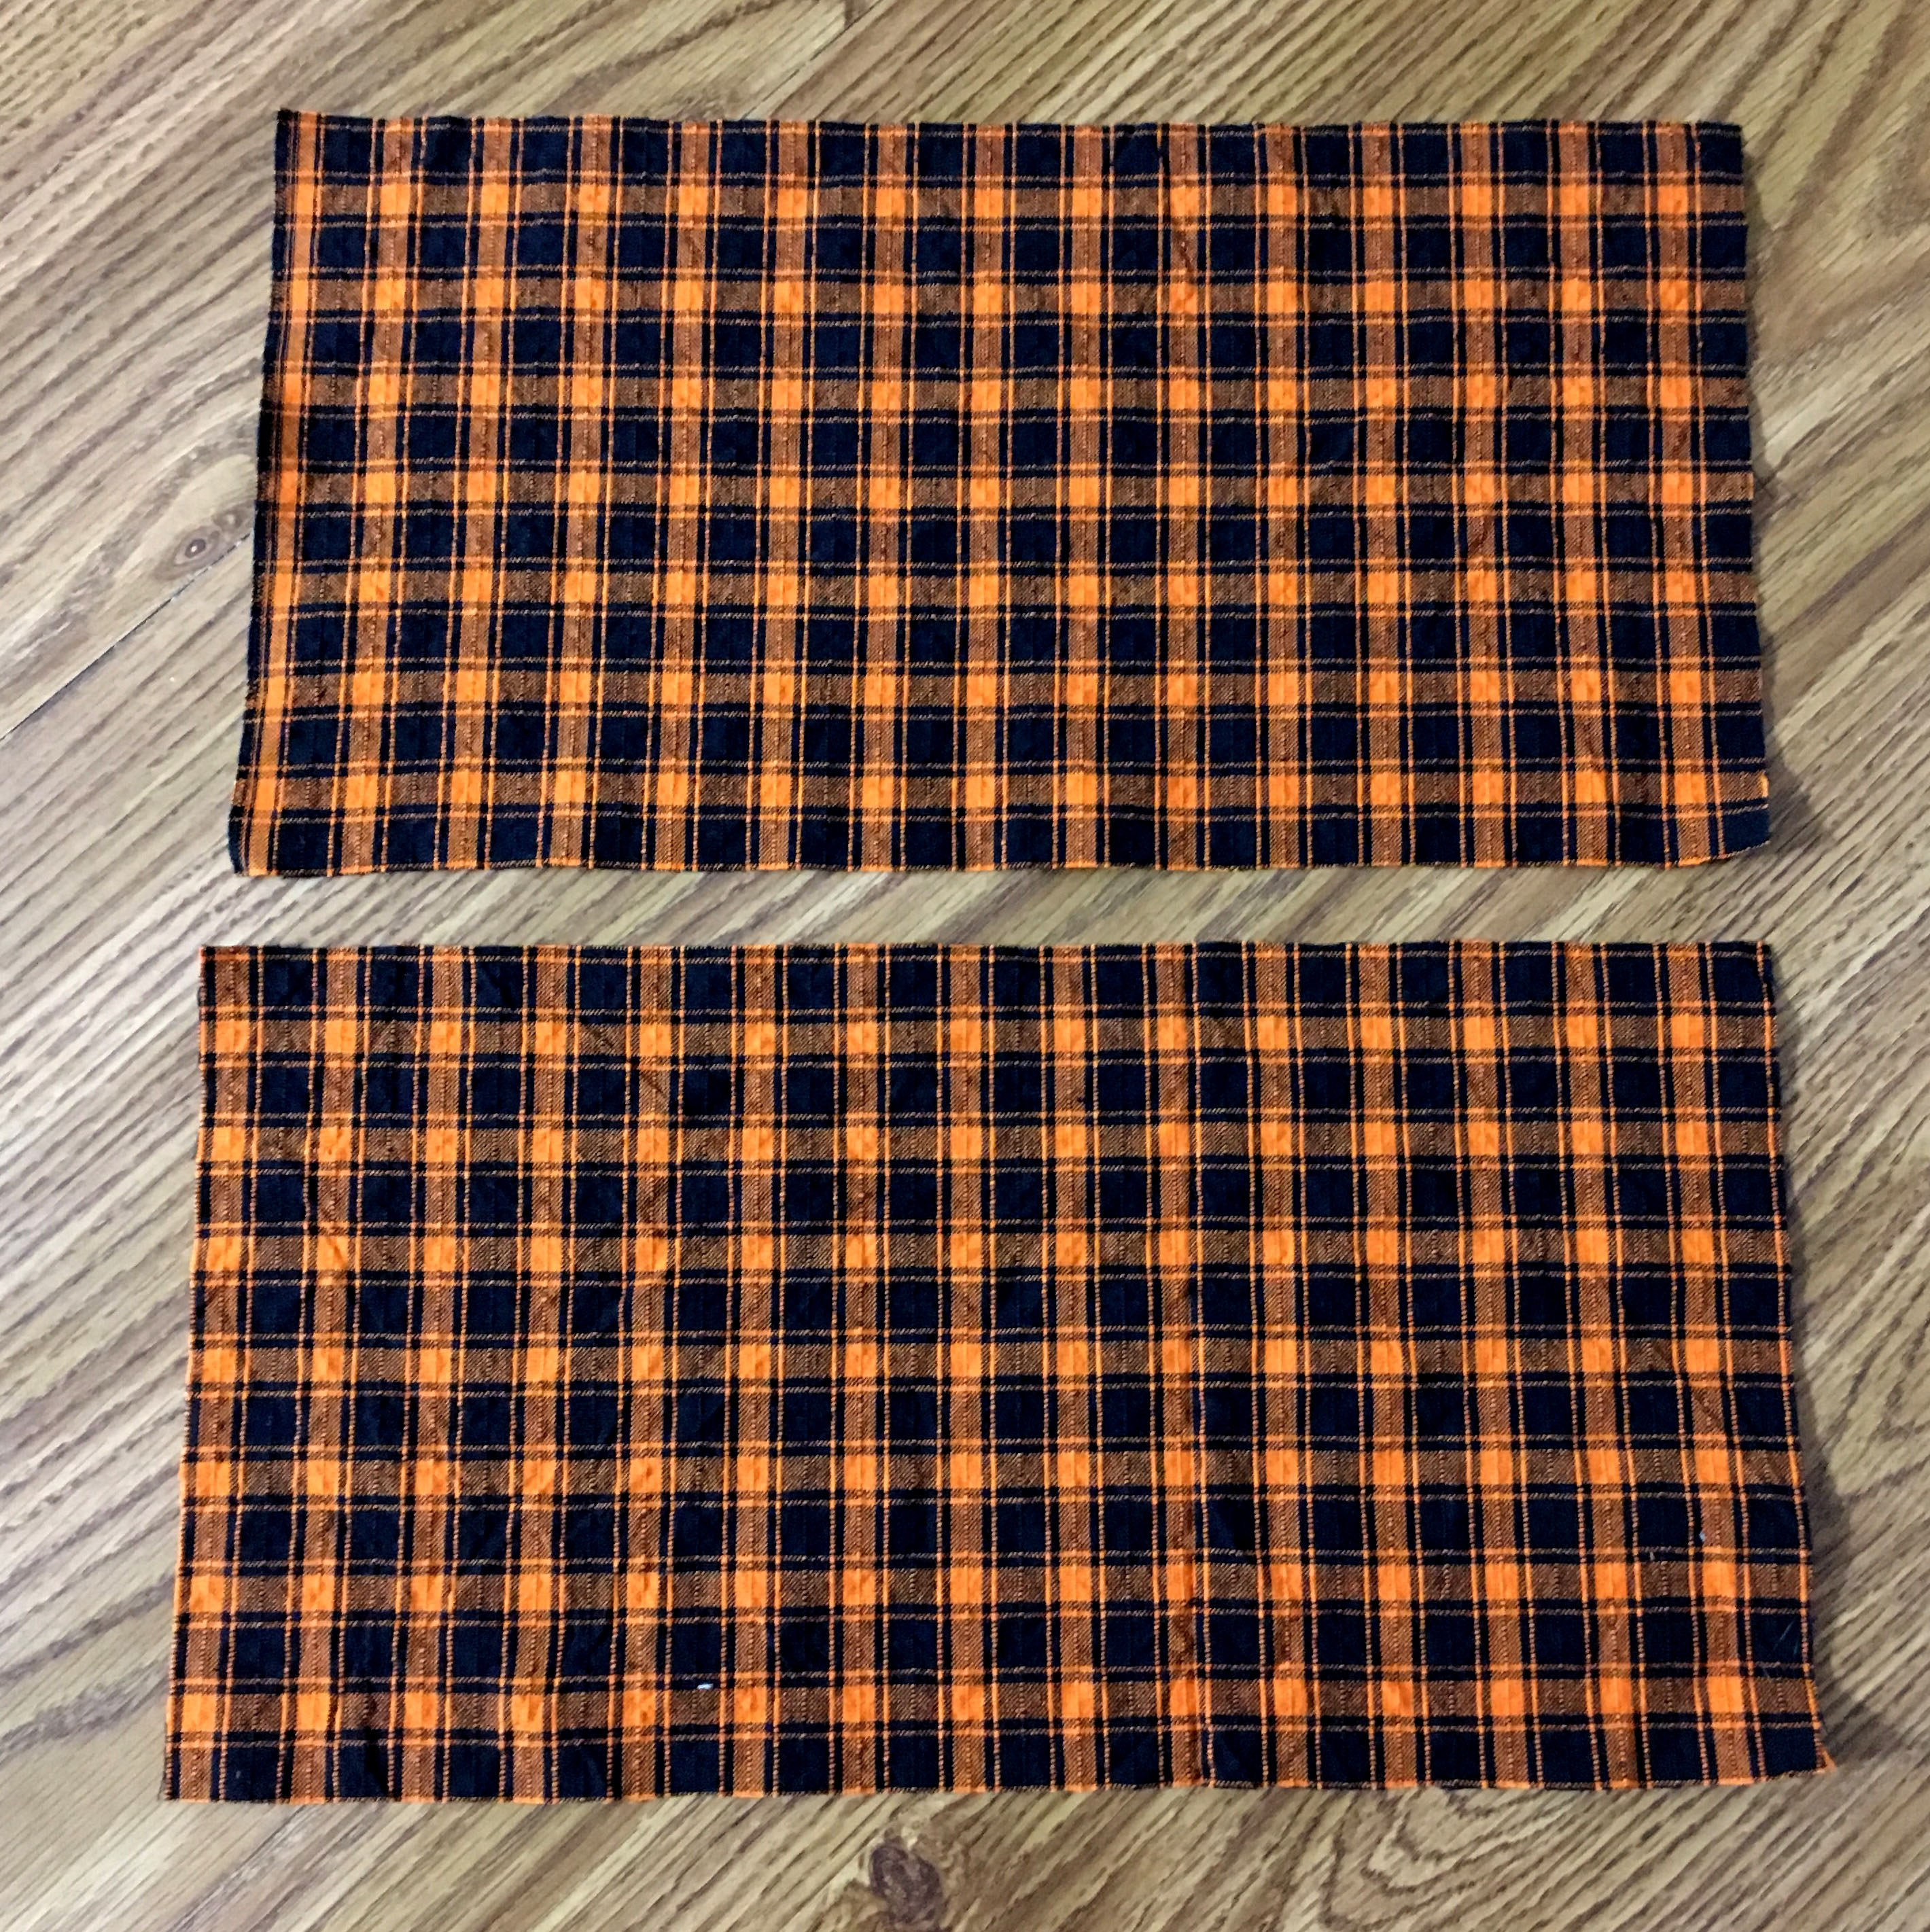
The finished size of these bags is 10” x 6”
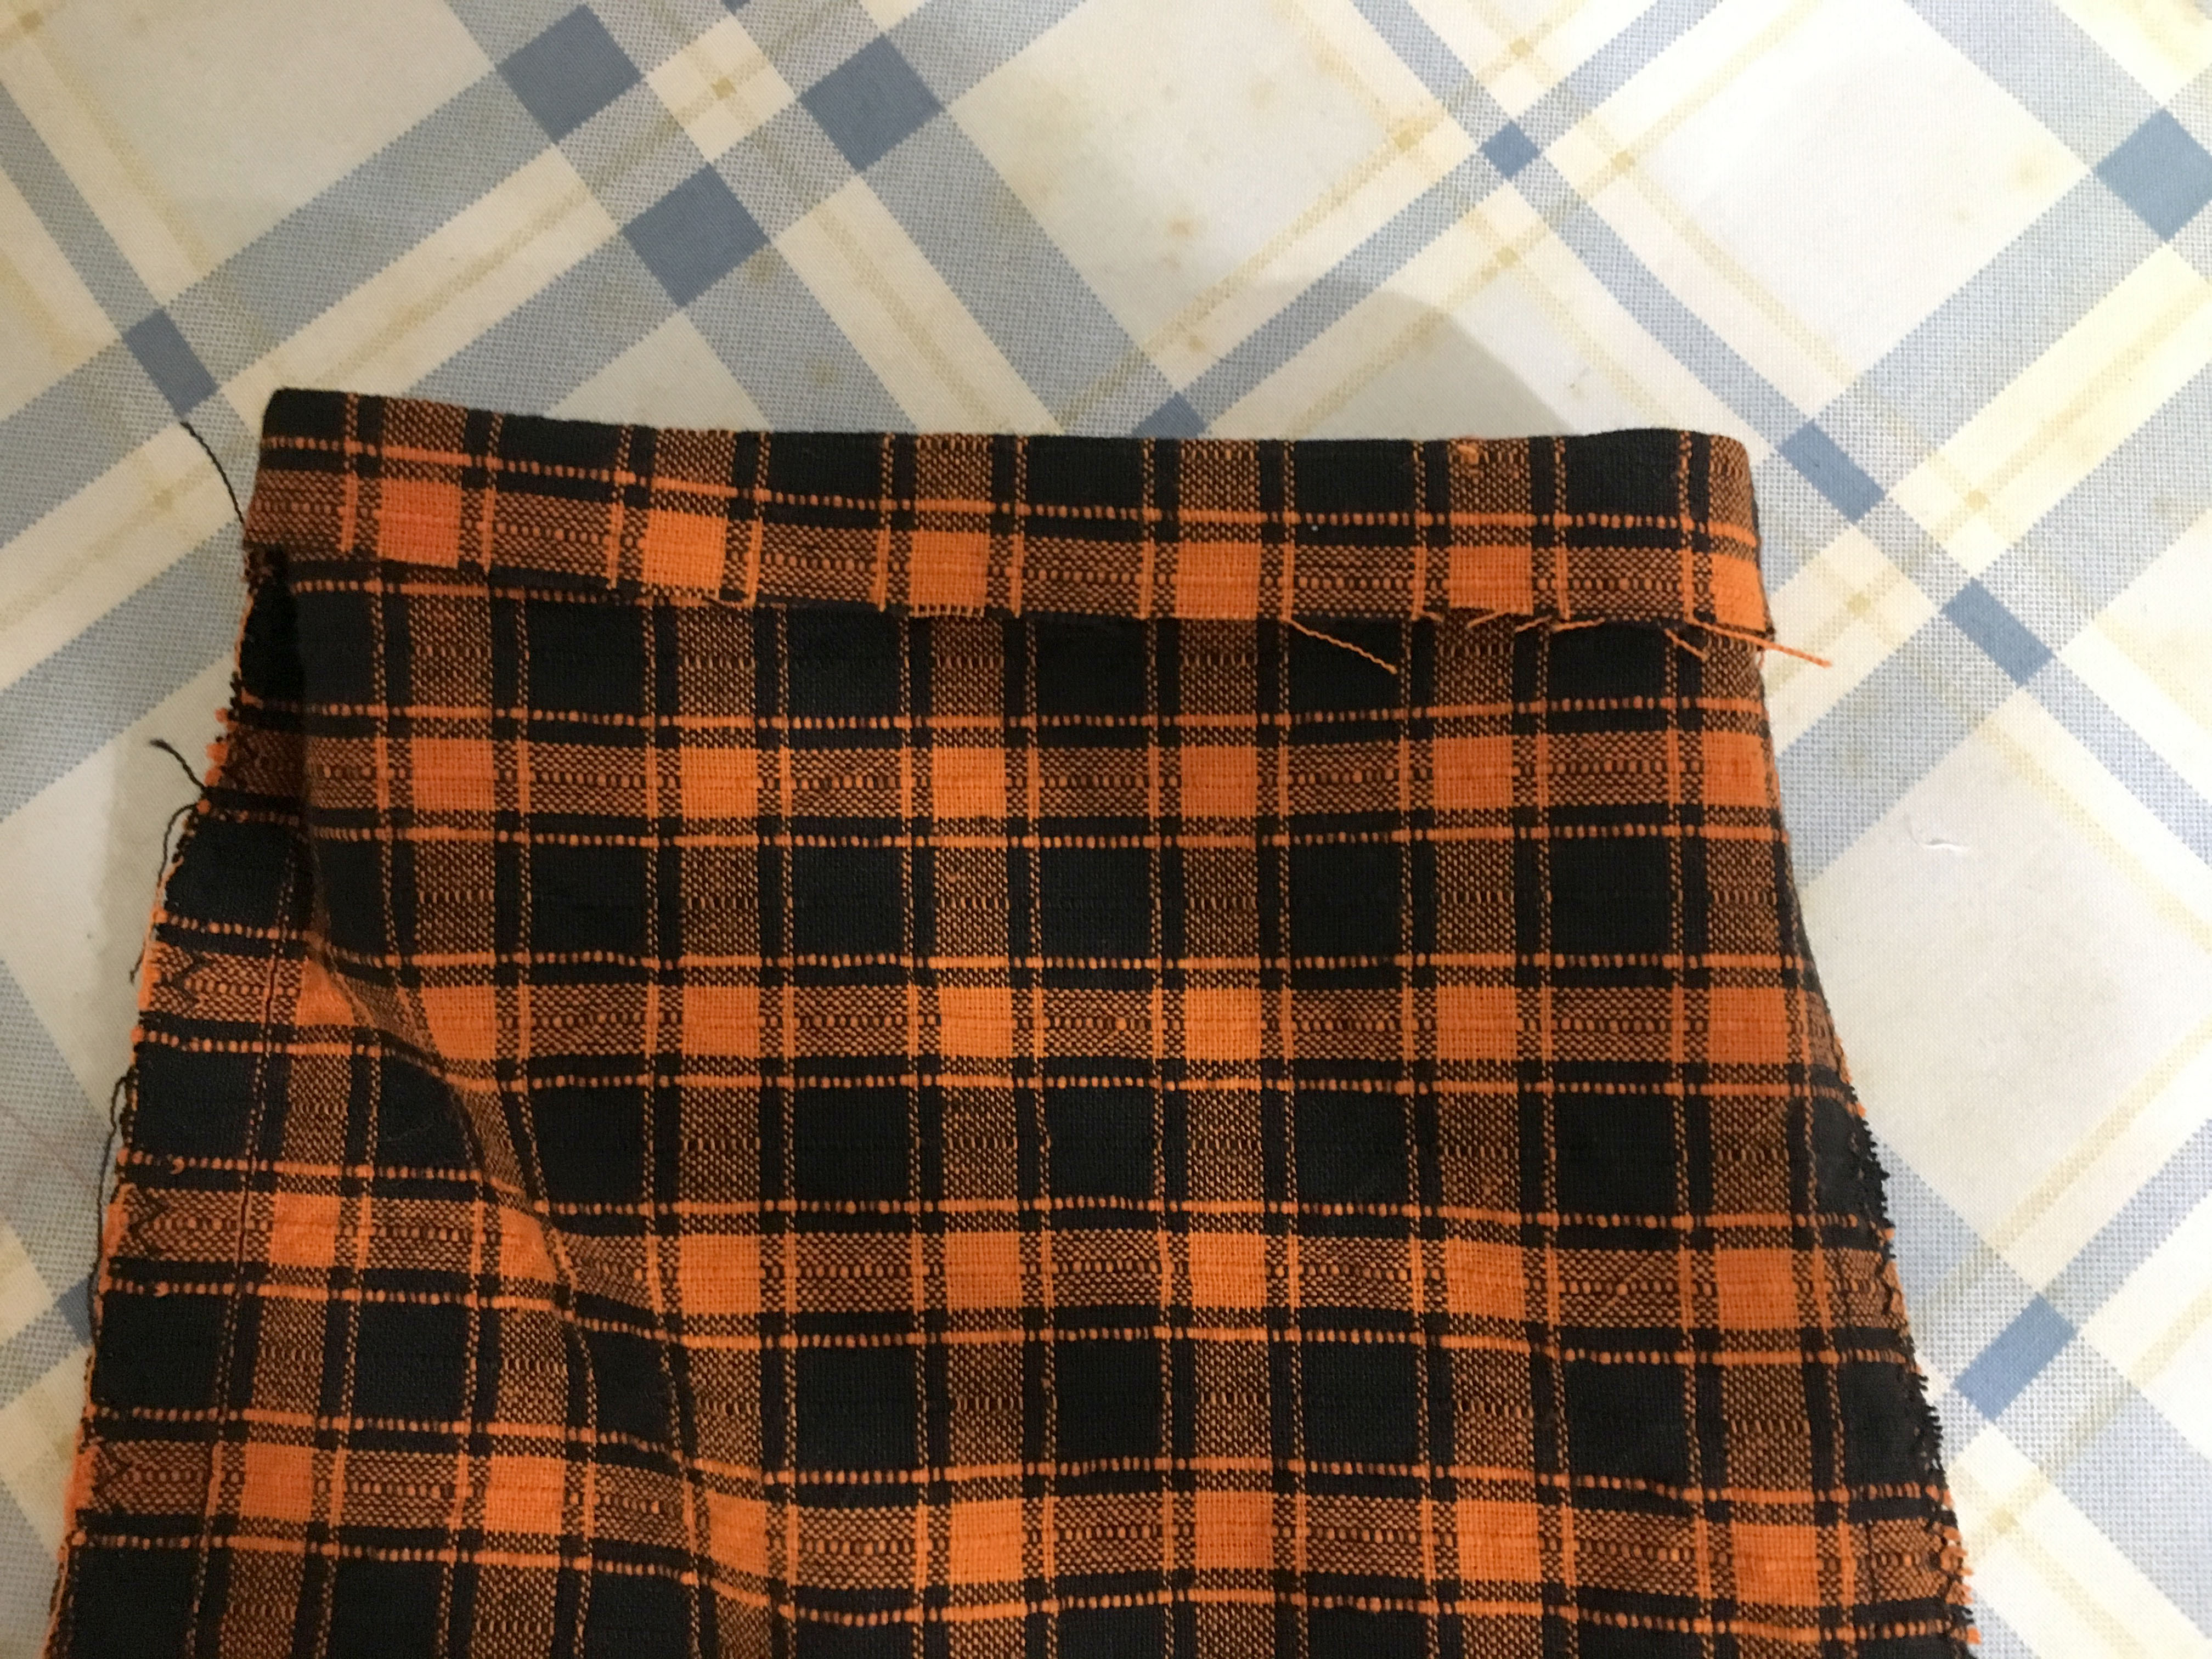
Cut 2 pieces of fabric to 13” x 7”
With right sides facing each other pin around three sides of your fabric, leaving one short side open which will be the top of your bag.
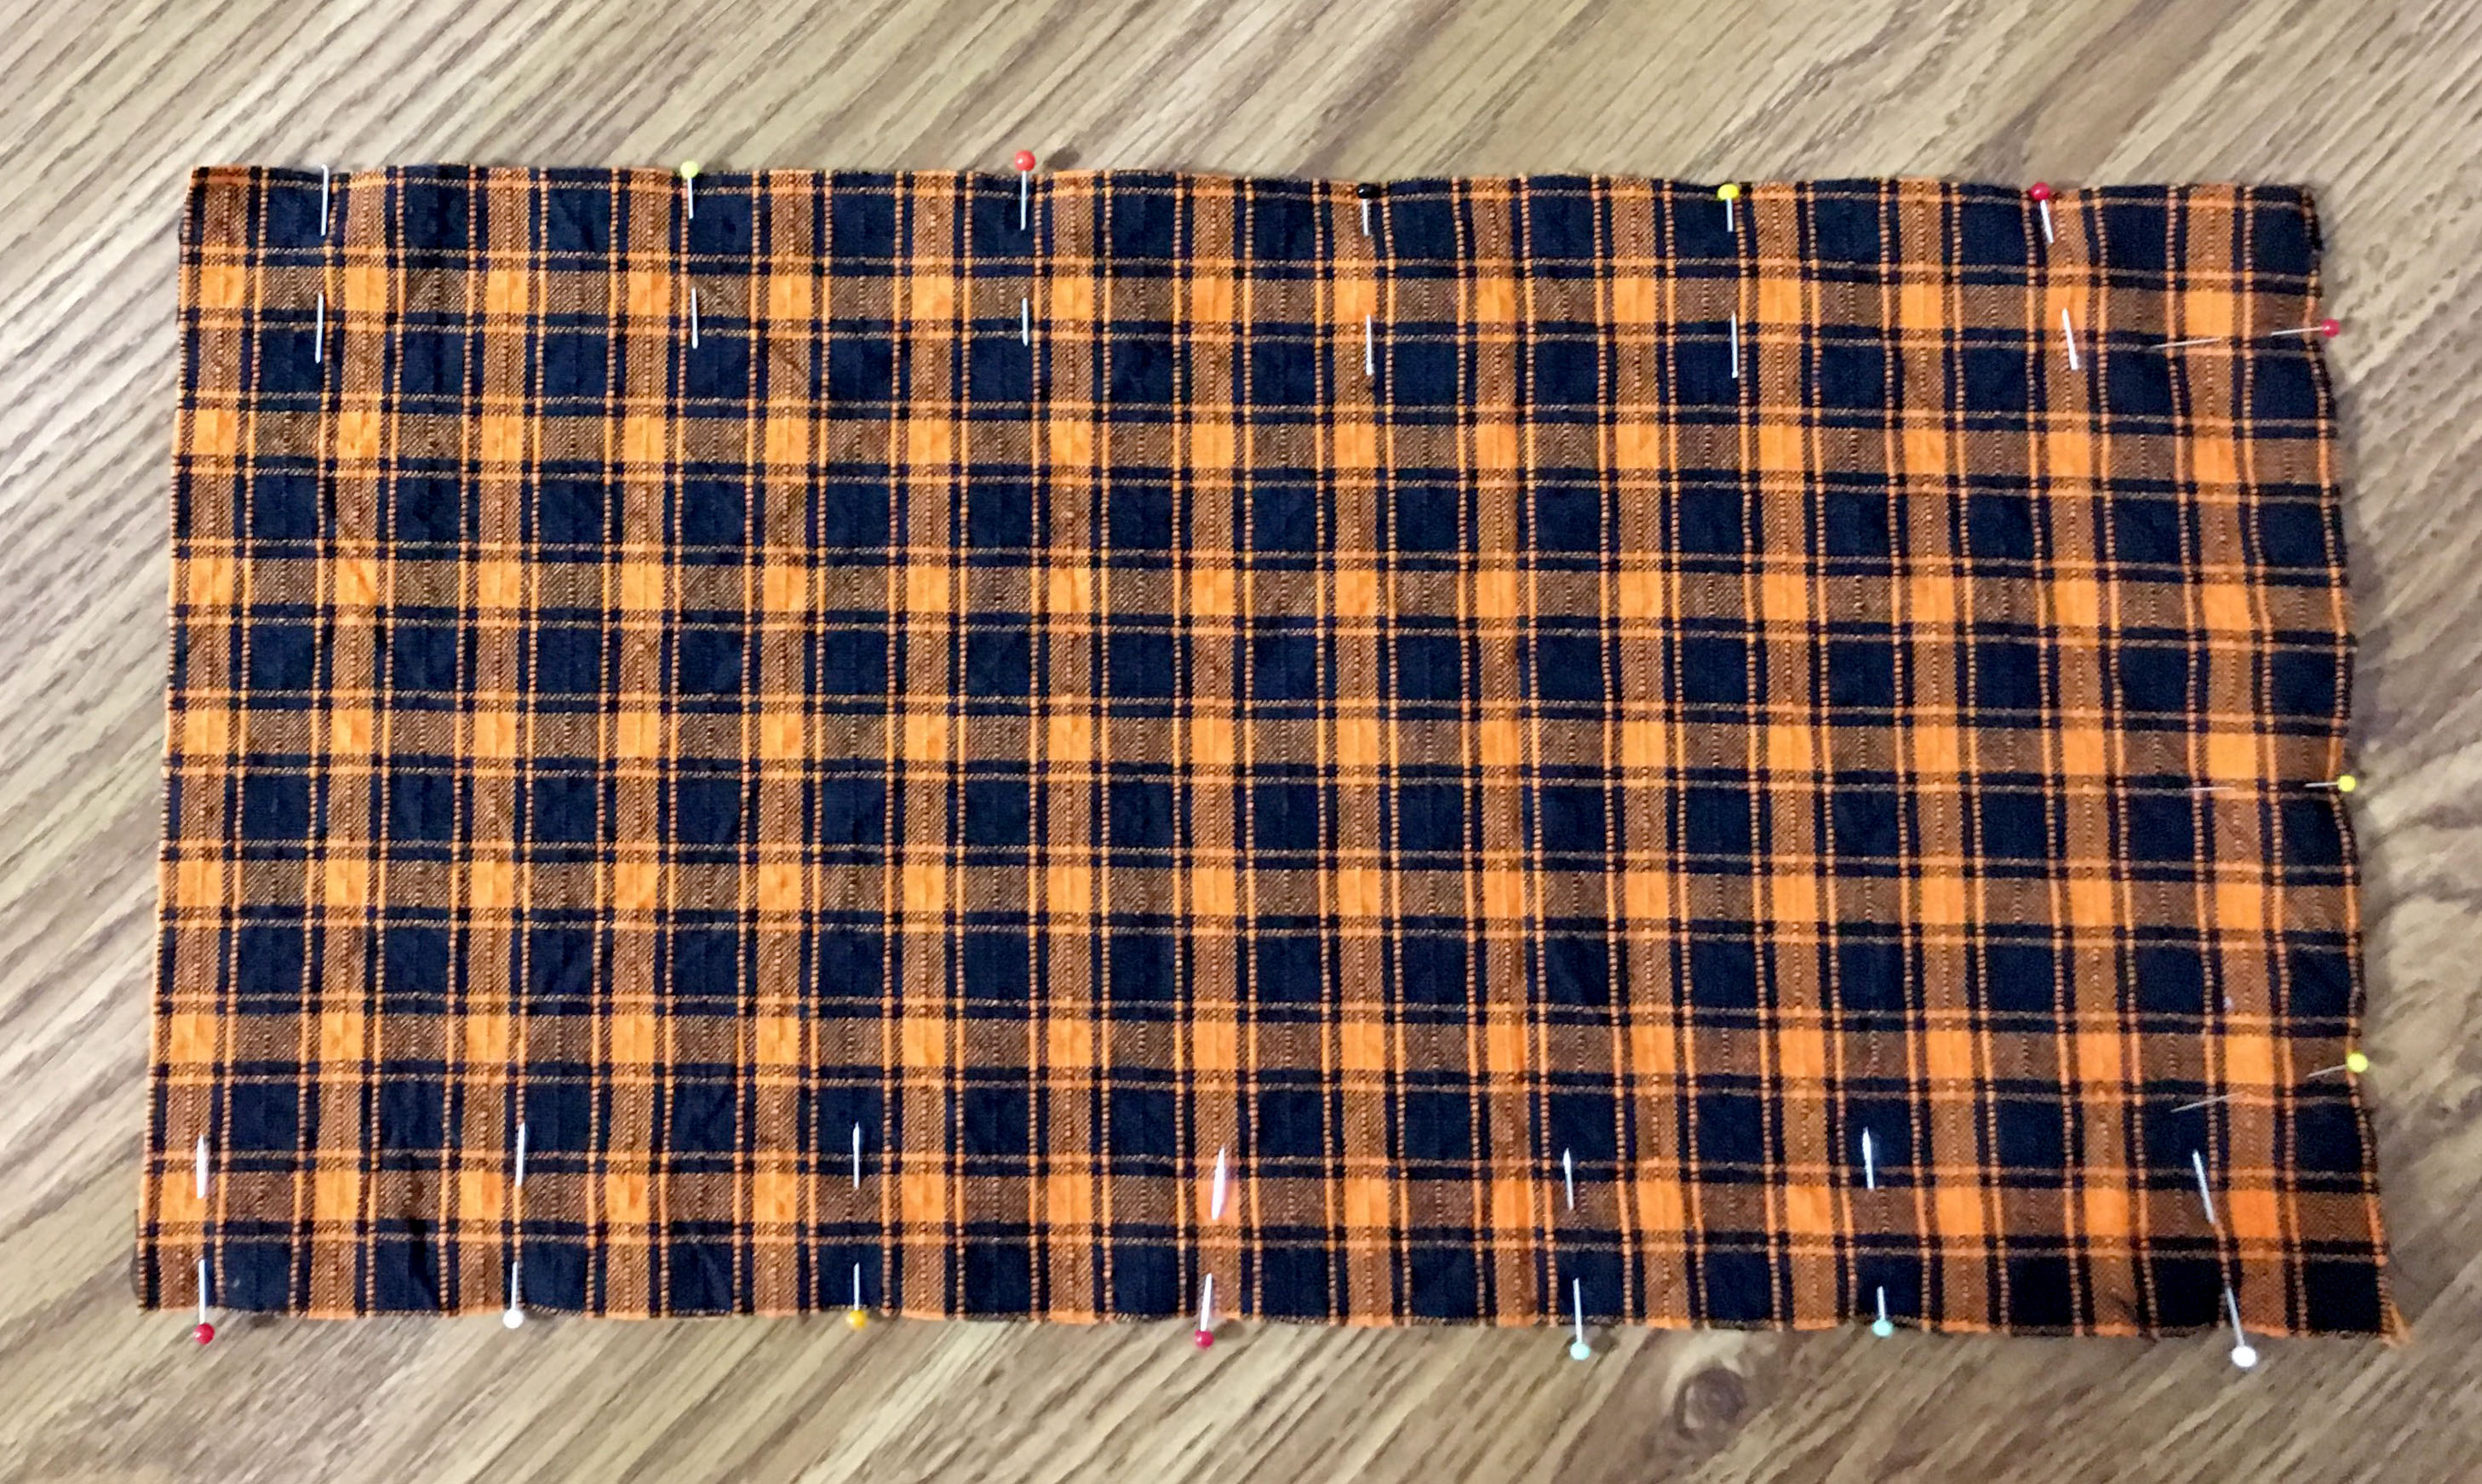
With 1/2” seam allowance sew around the pinned sides. Then clip the lower two corners diagonally. This will help the corners look better when your turn the bag right side out.
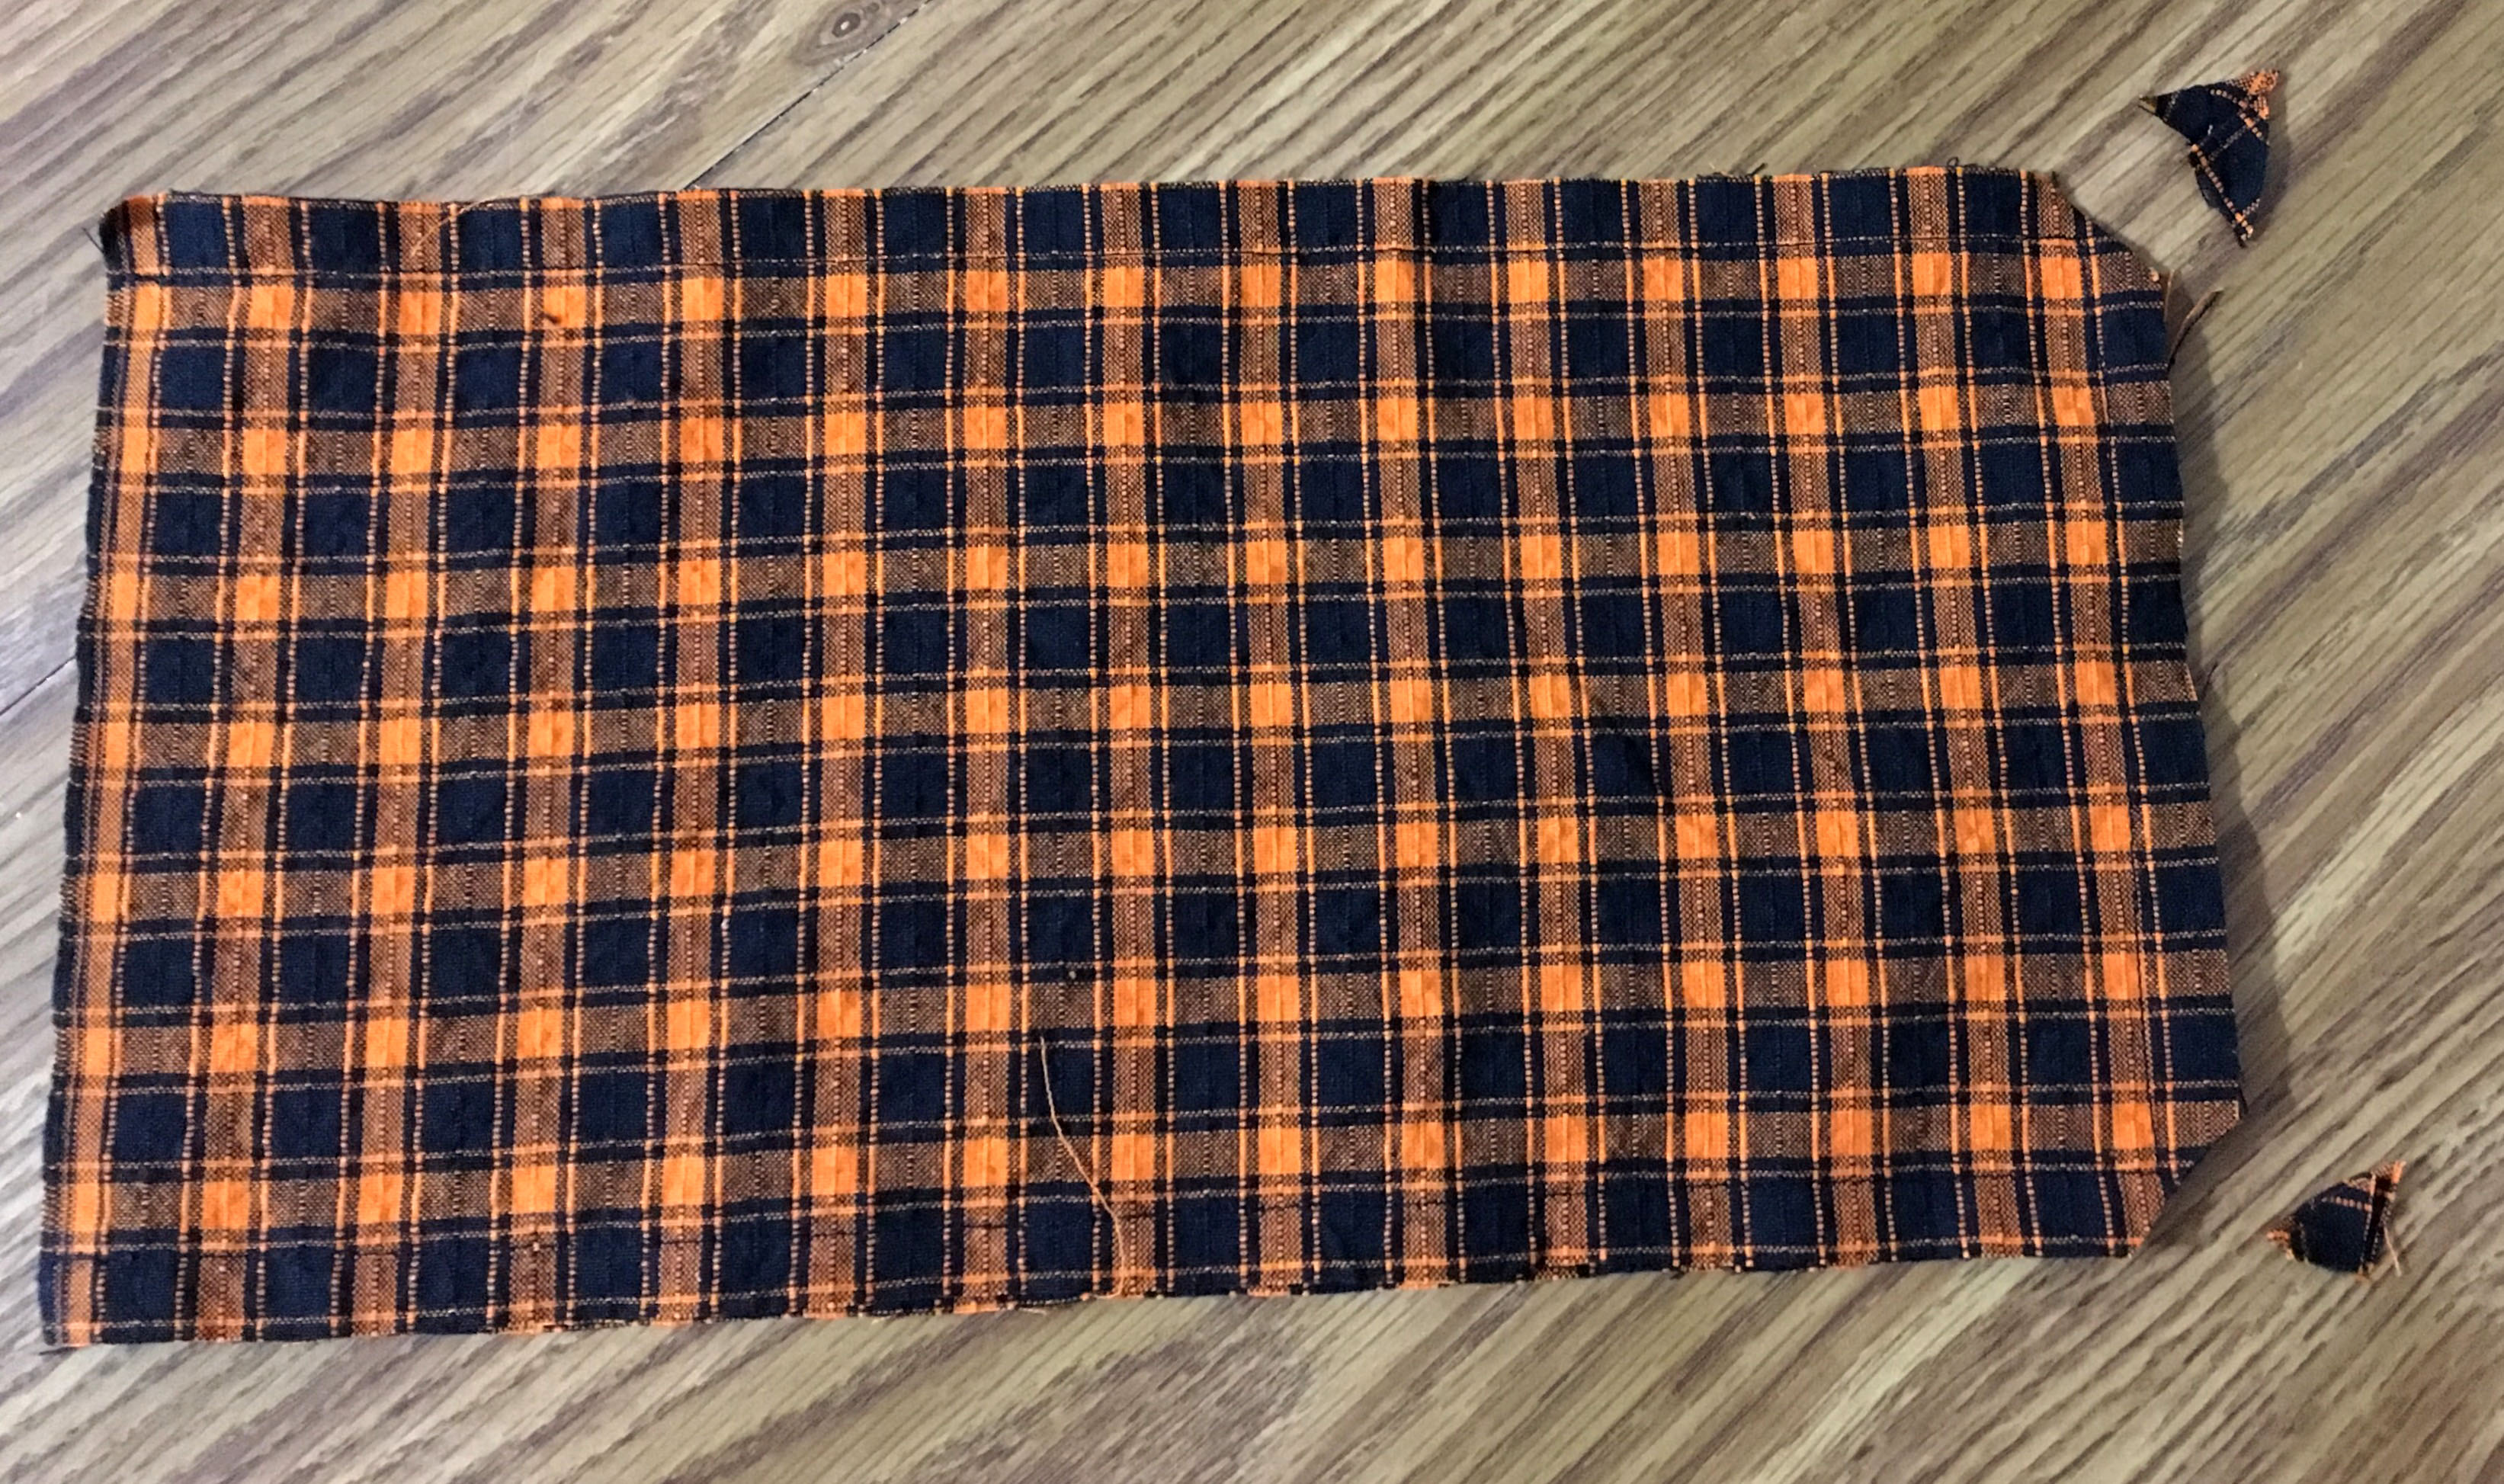
Zigzag around the same 3 sides.
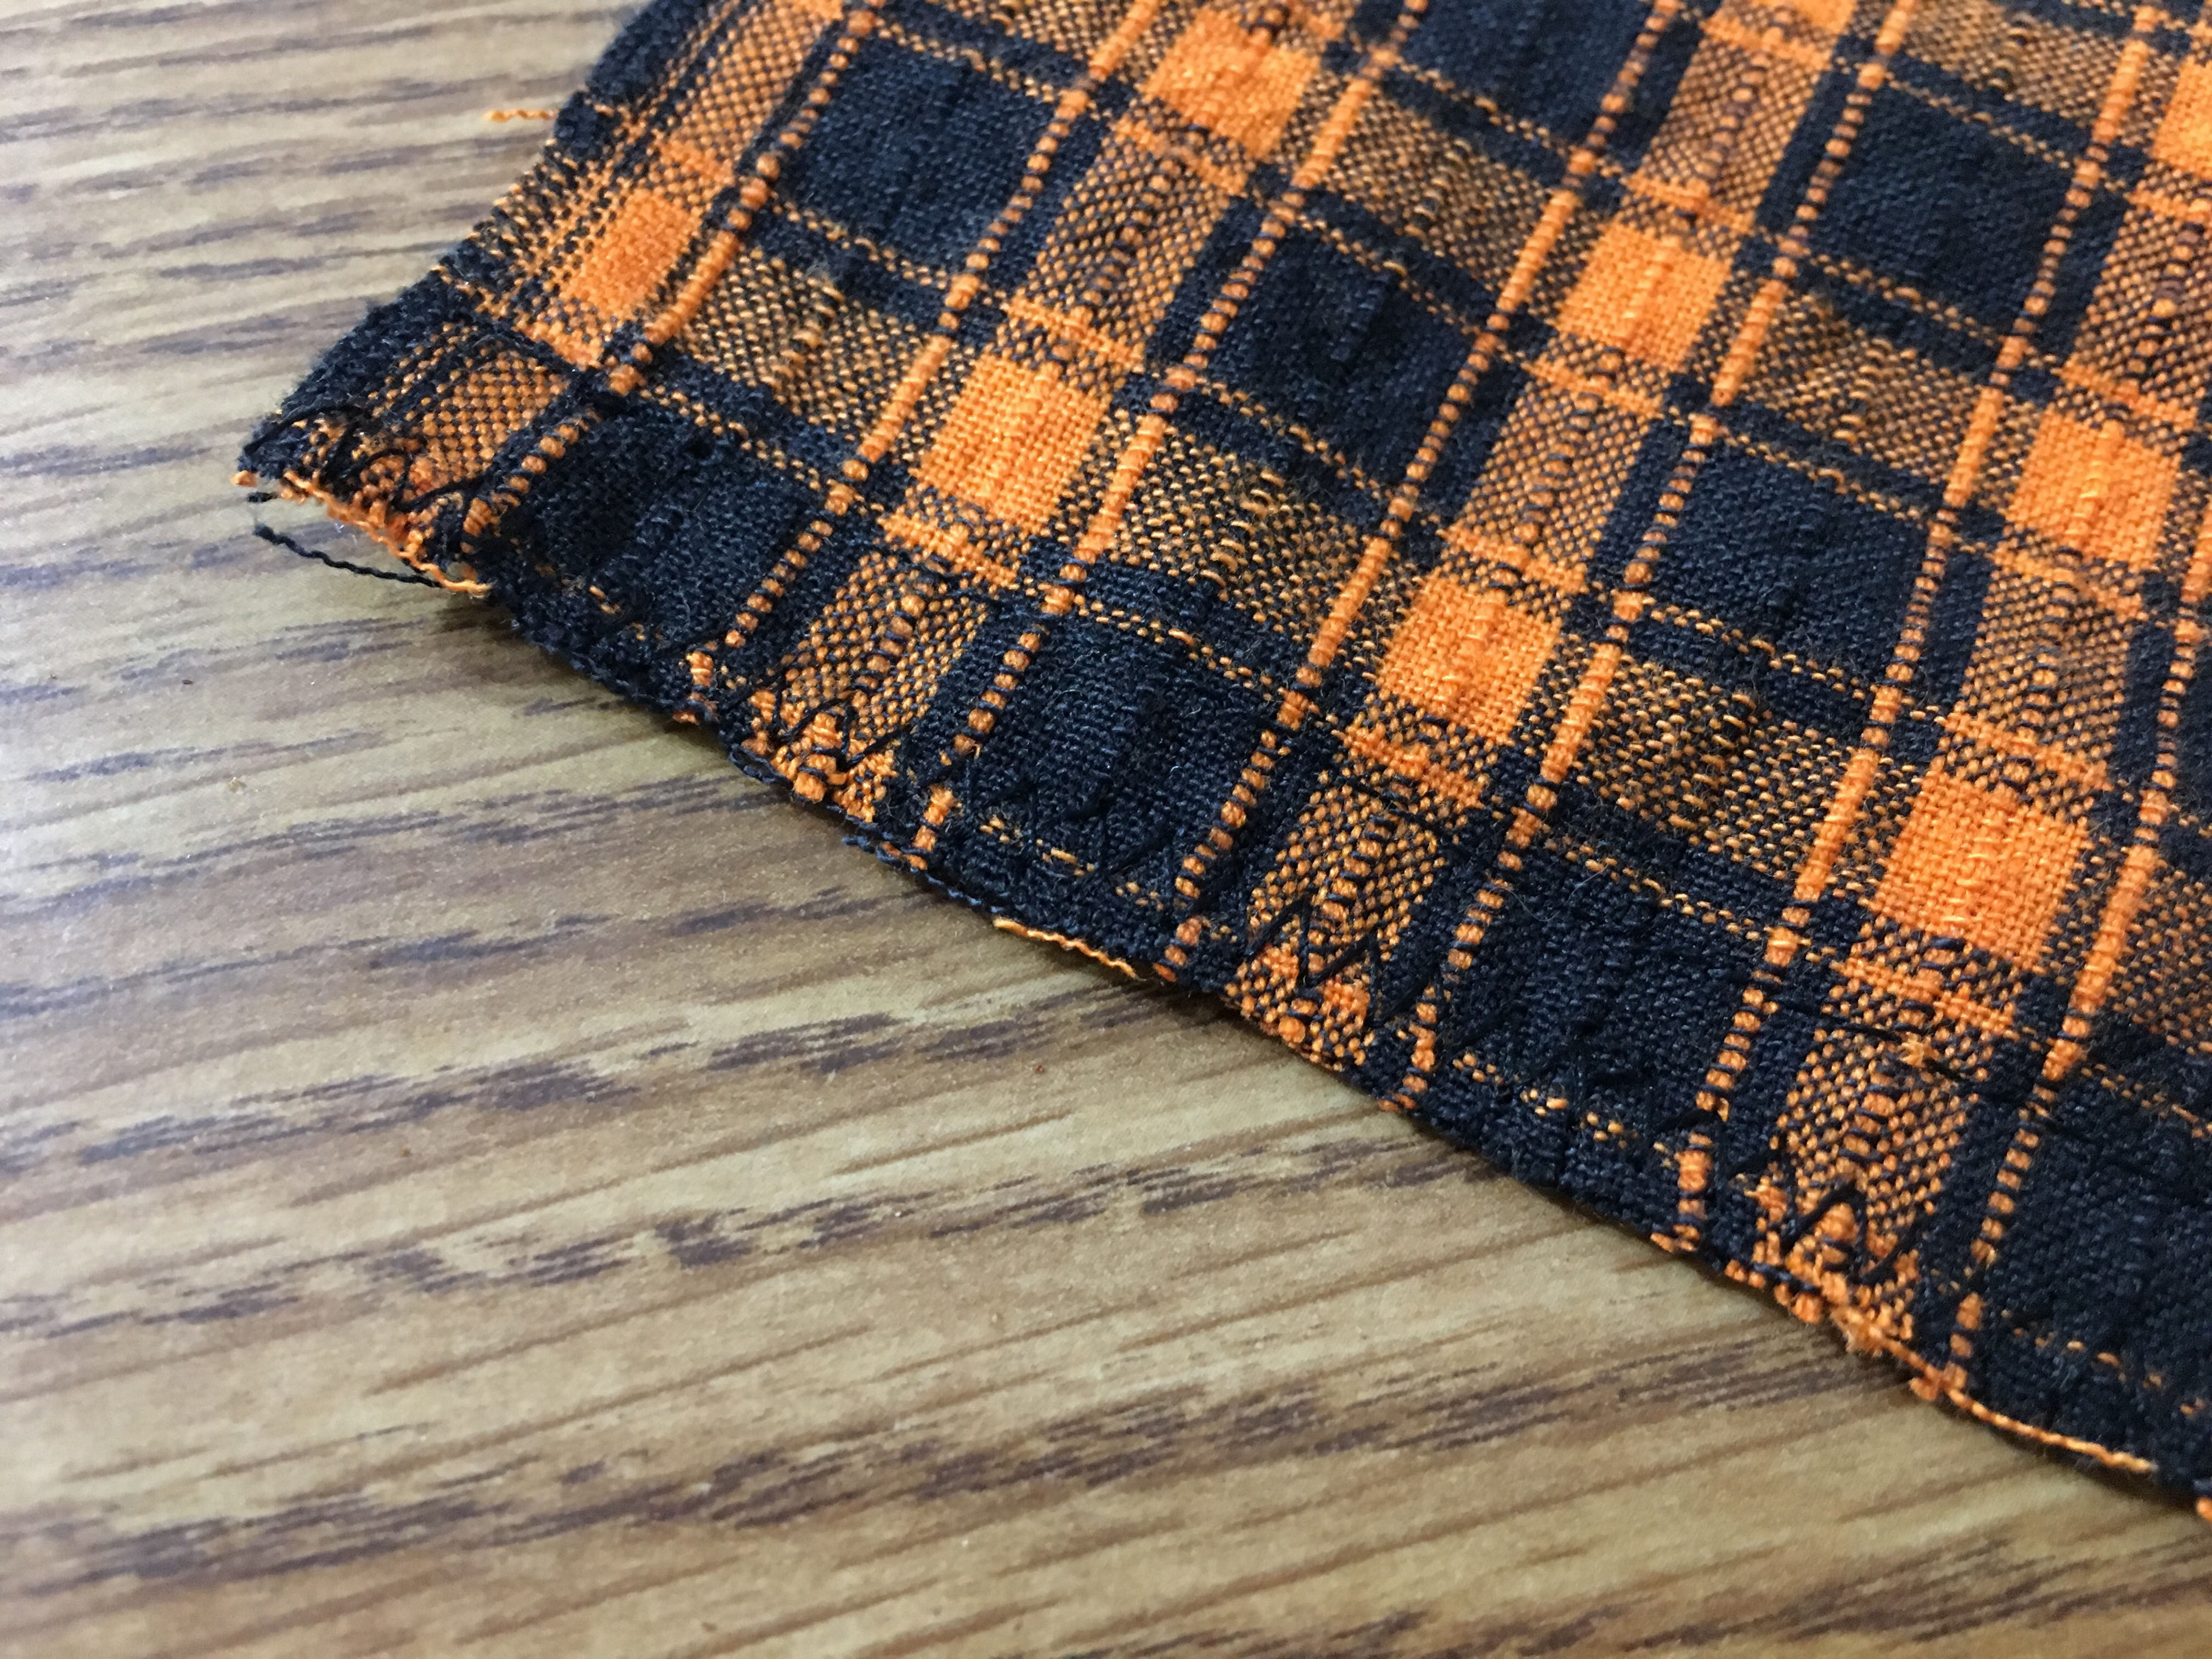
Fold and iron the top edge over 1/2” (This step is easier if you take a moment to iron down the side edges first.)
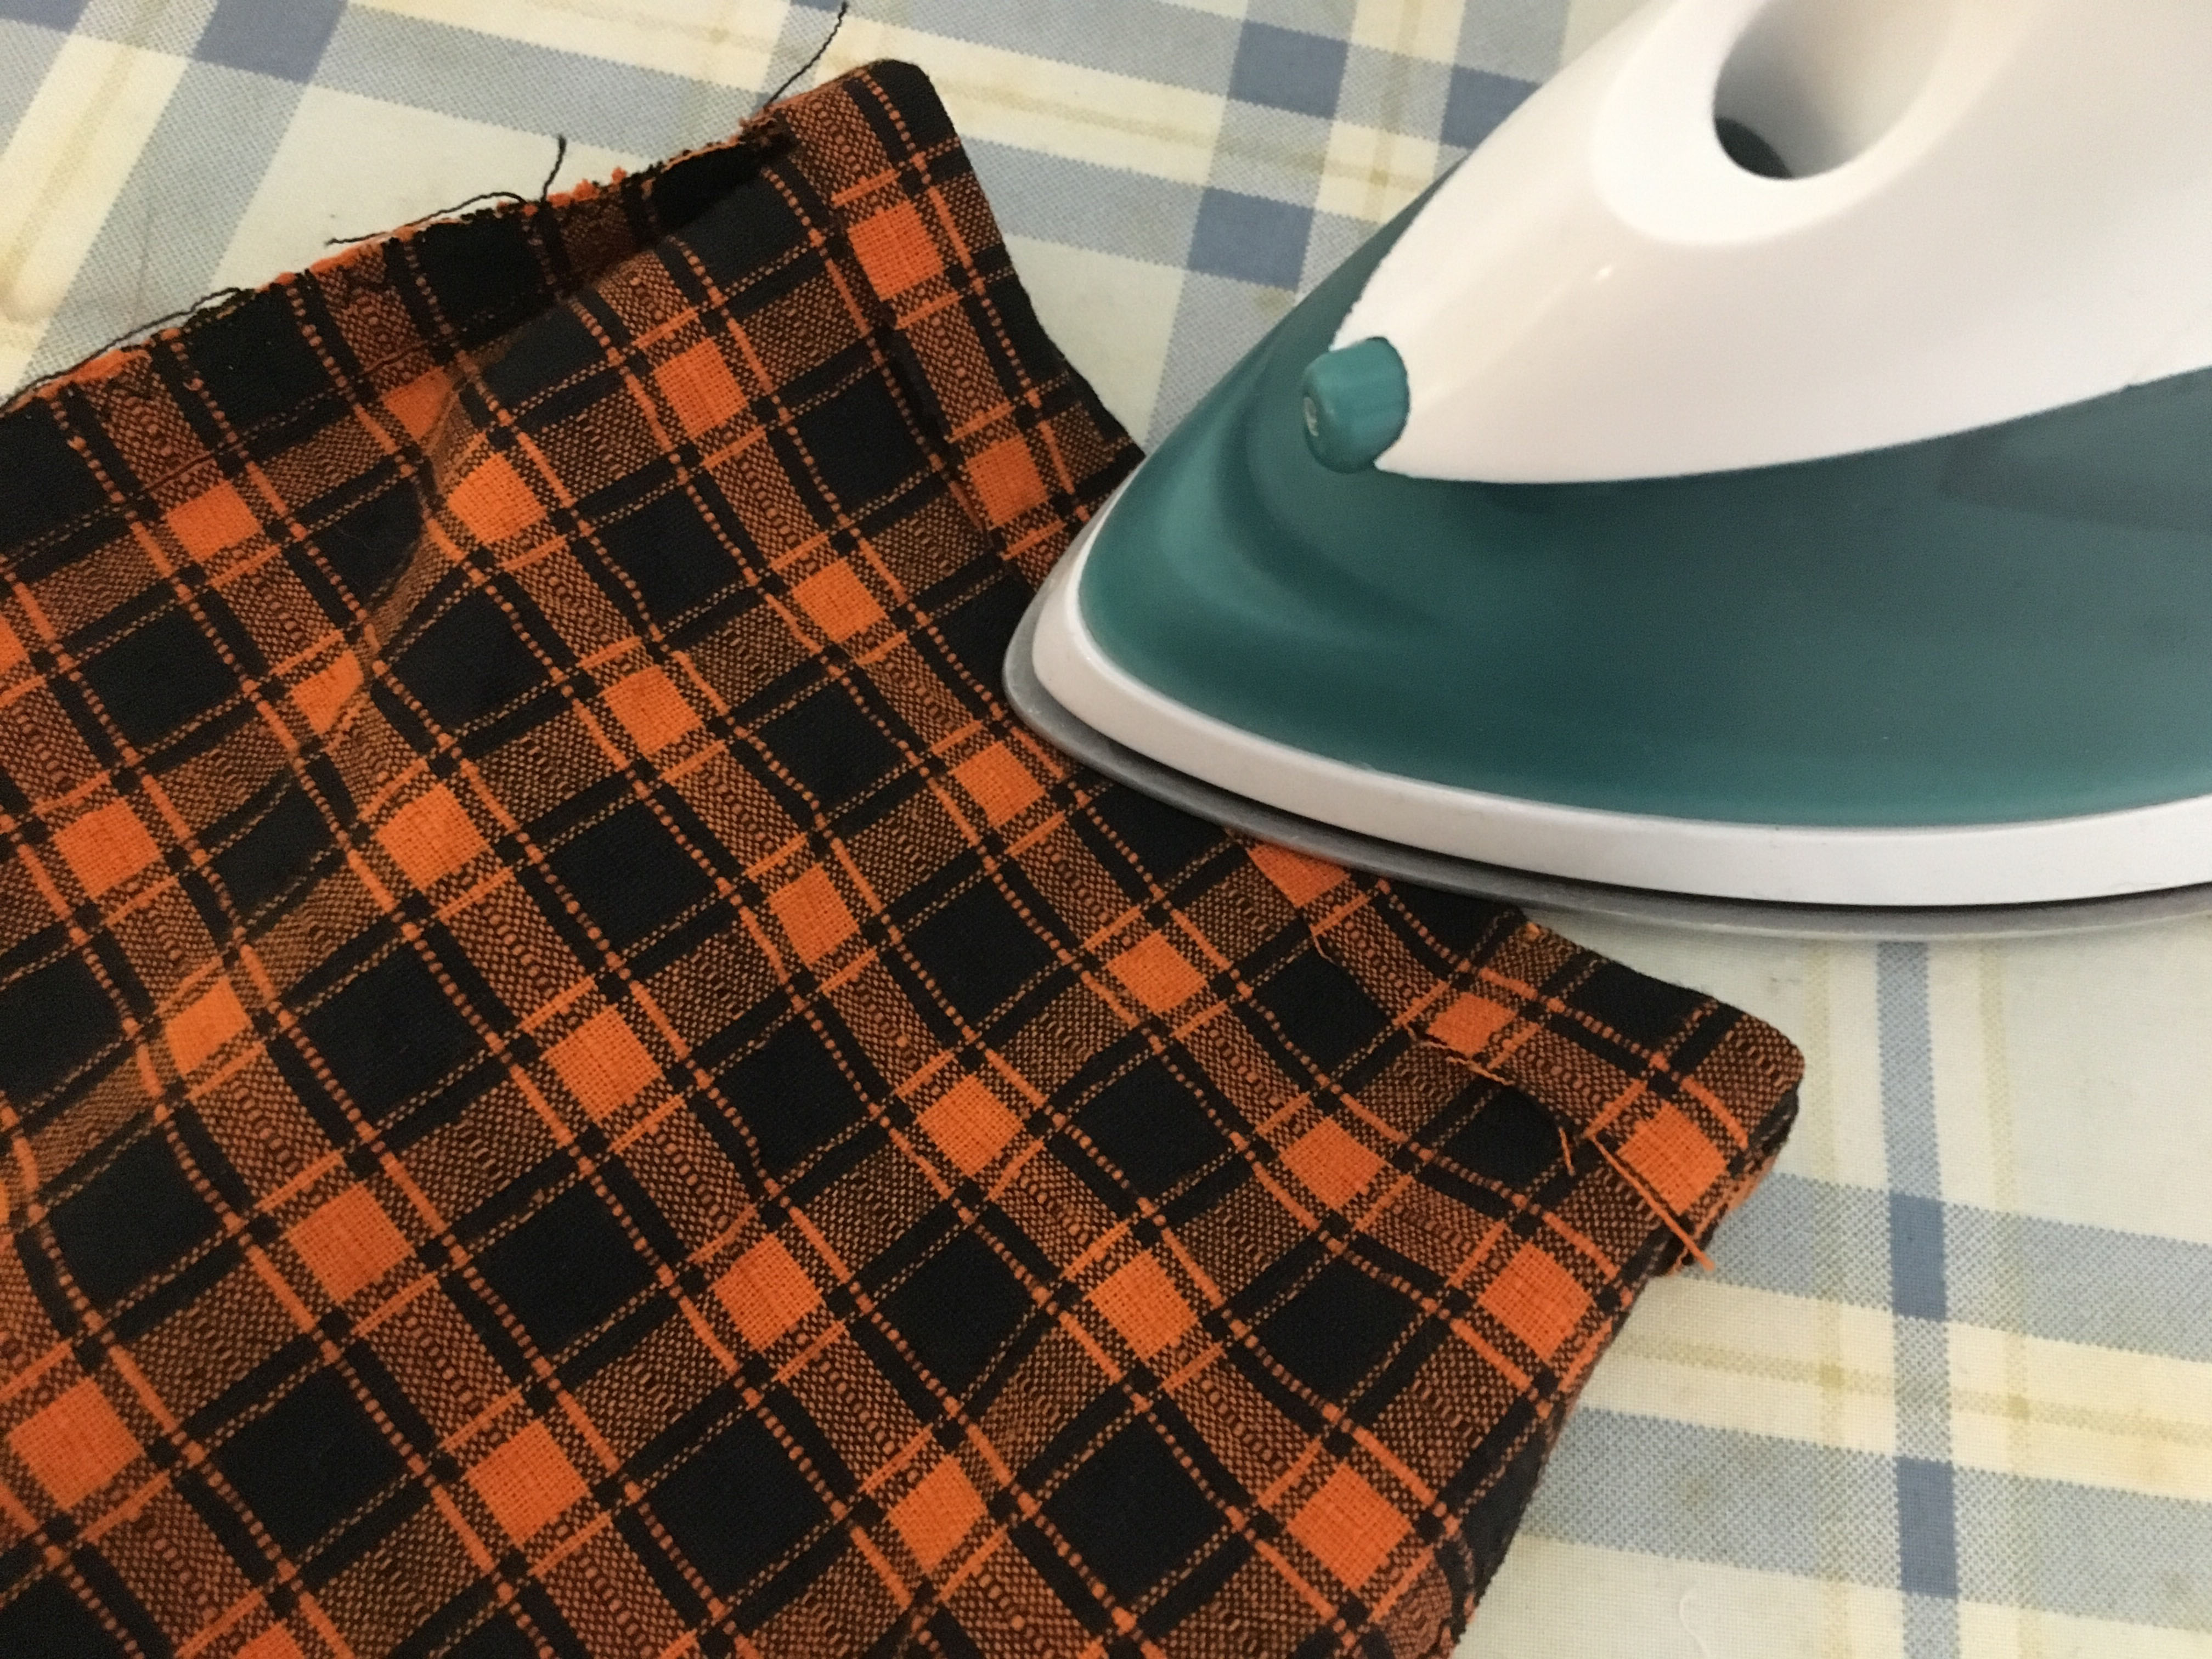
Then fold the top edge down once more 2” and iron.
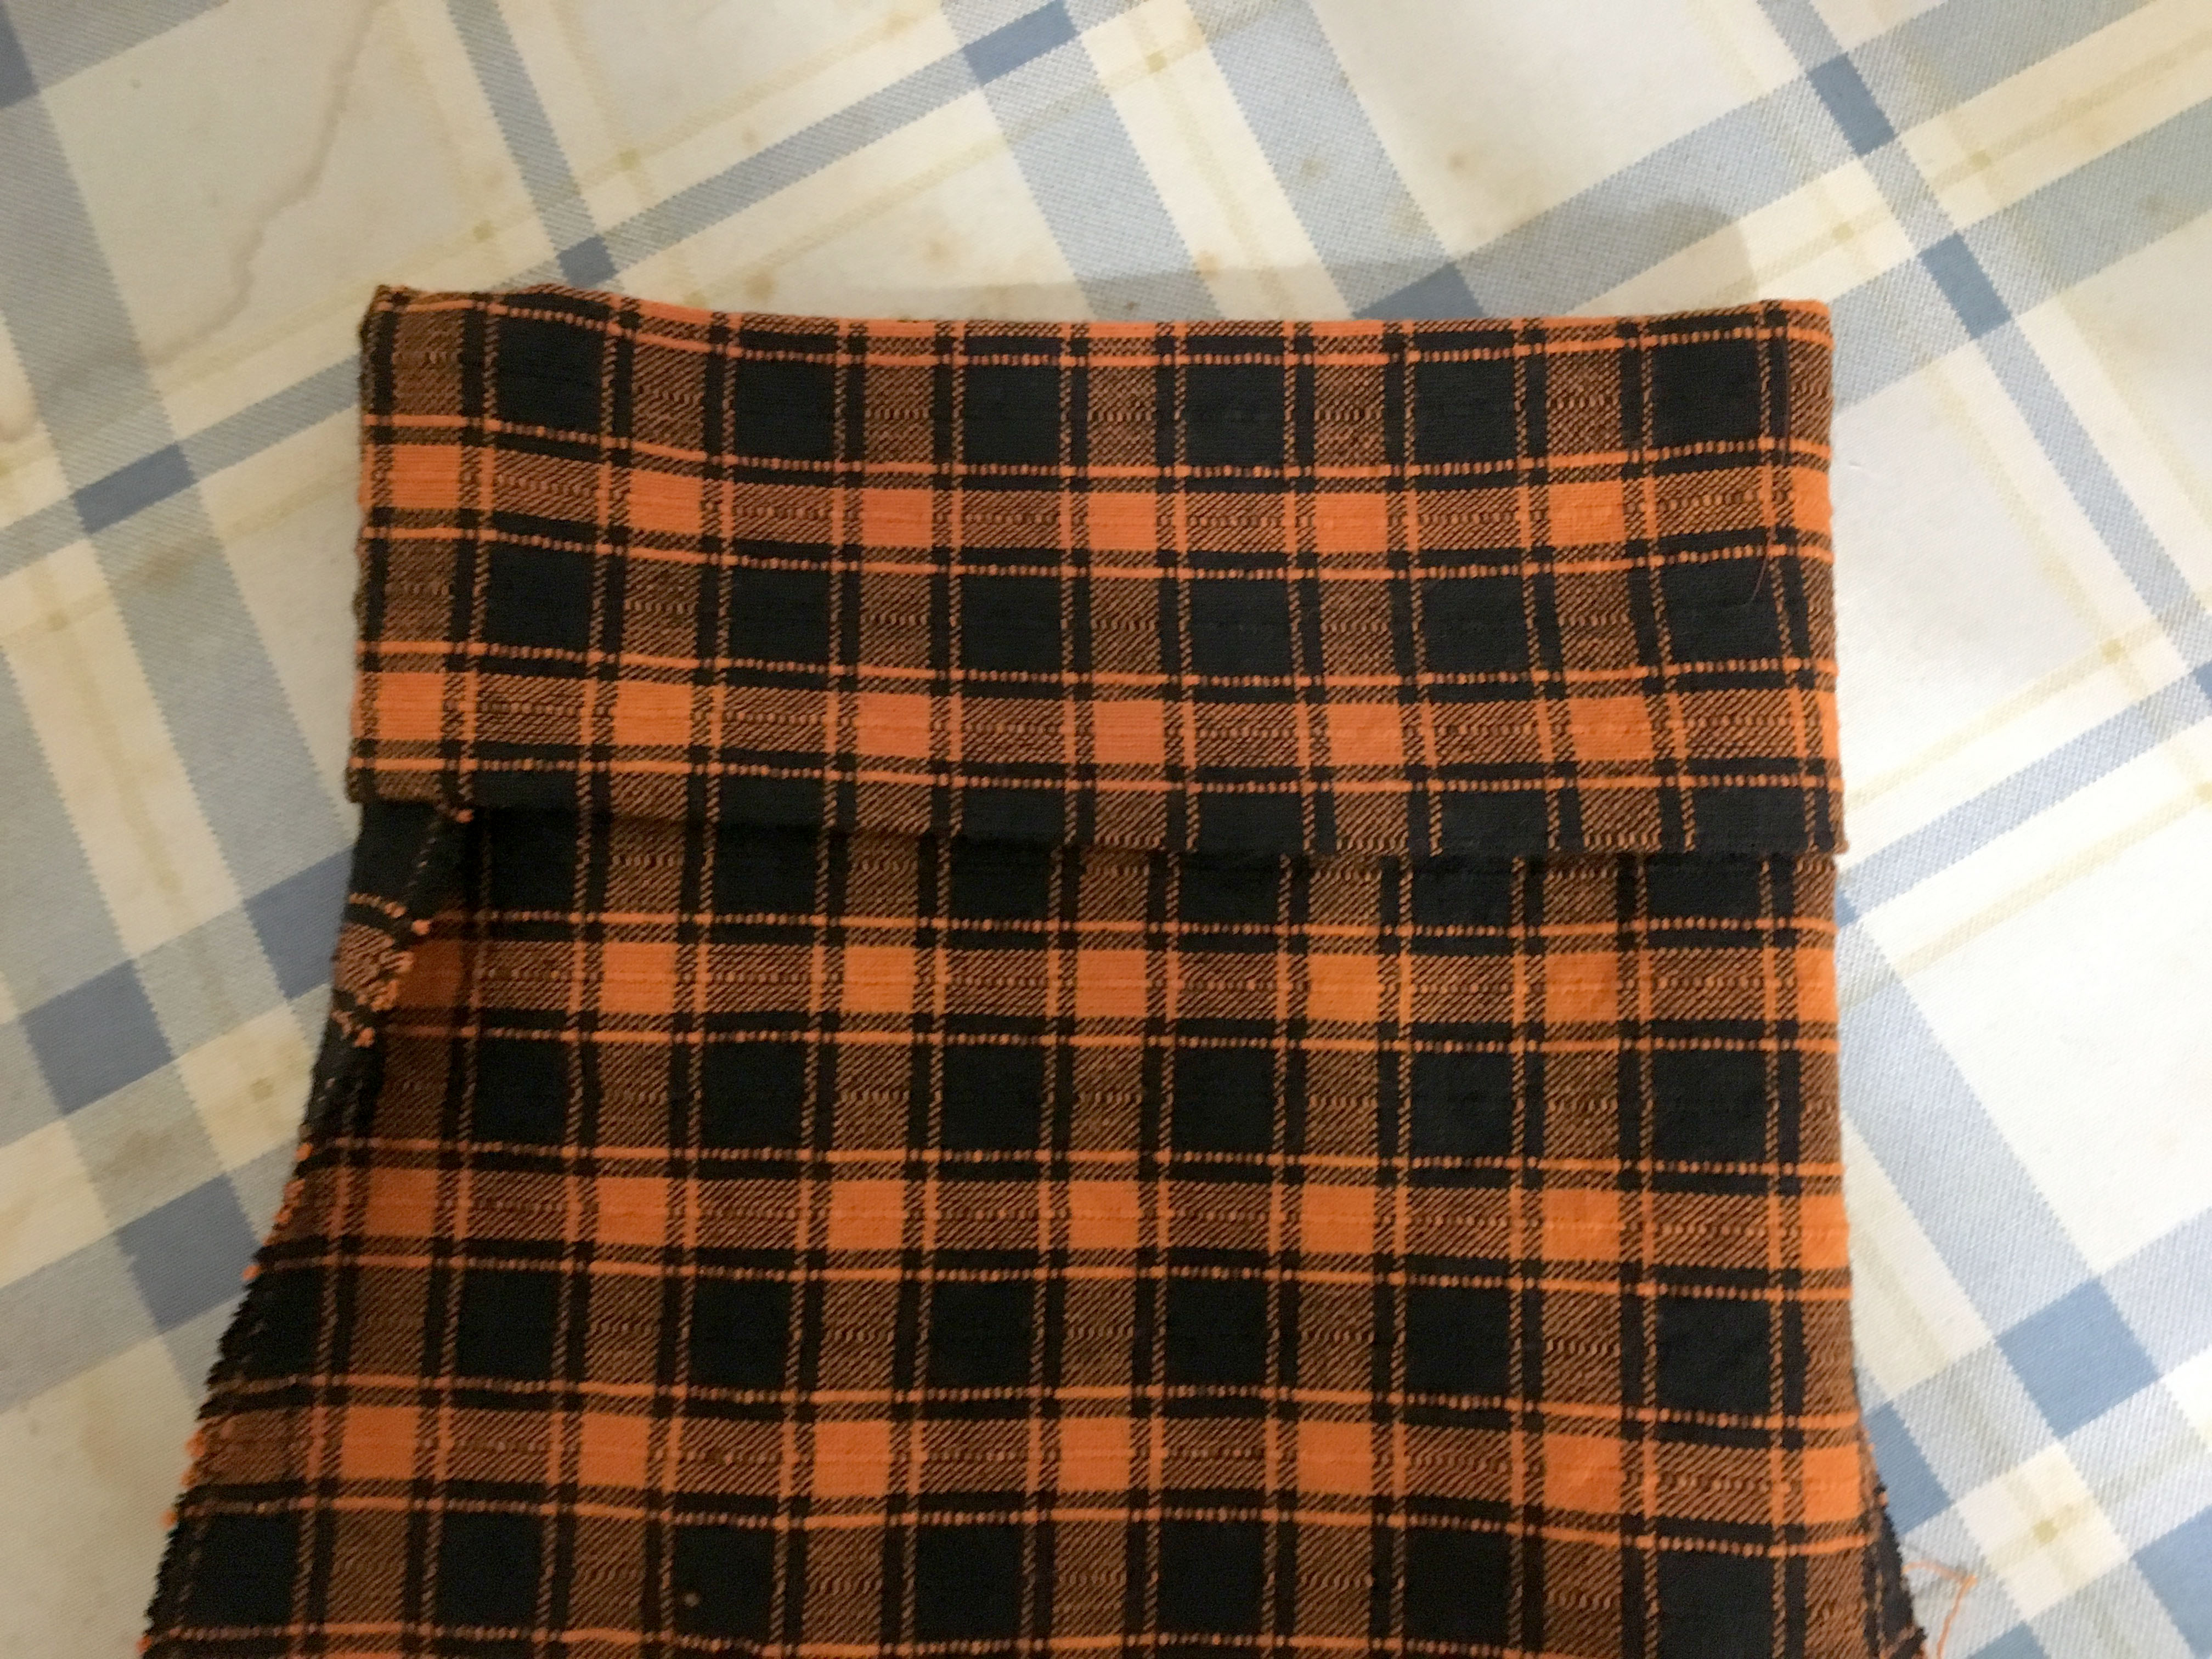
Sew with 1/4” seam allowance along the inner edge of your bag. I like to line the edge up with my sewing foot as a guide.

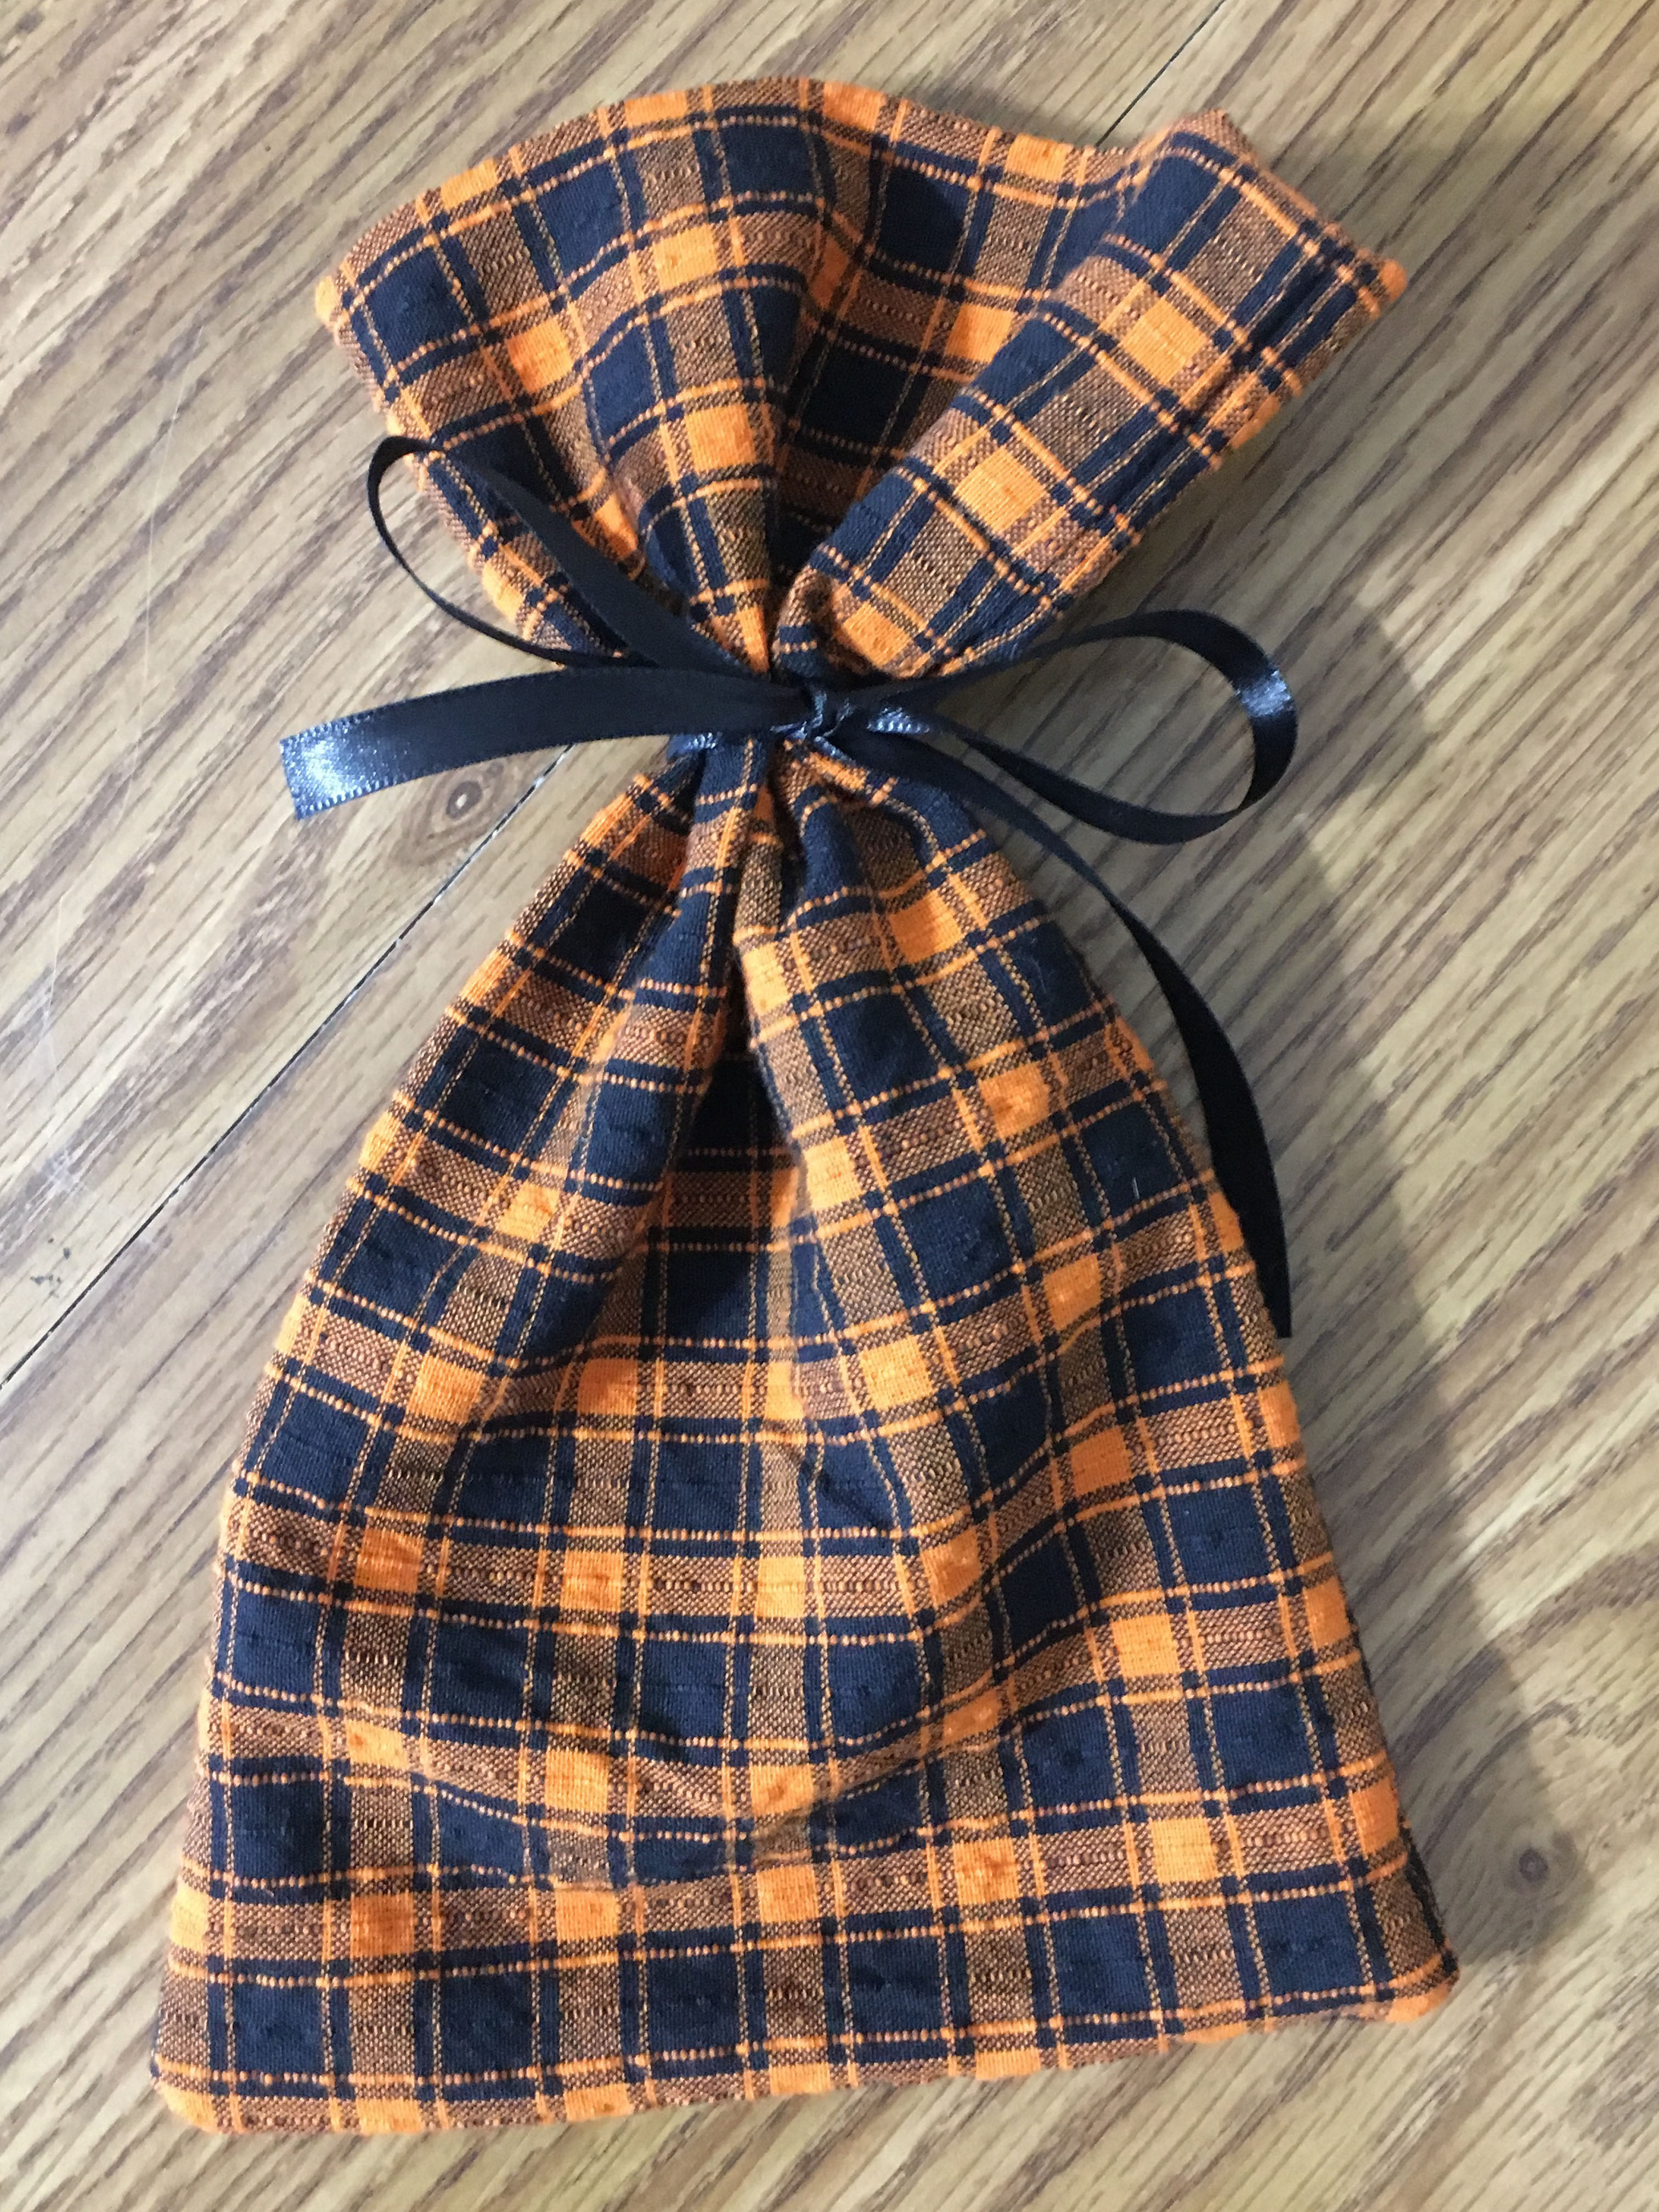
Finally turn your bag right side out. Tie your ribbon around the bag right below the seam. To keep your ribbon edges from fraying, you can put a little clear nail polish on them.
That’s all there is to it! Now for the design!
Part 2: Make & Apply the Boo! Design
Cut a piece of paper to 5” x 5”. This is roughly the size of the finished design and cutting your paper this size first can help ensure your design will be proportionate to your bag.
Next draw your design. I started by drawing the scalloped, oval outline. Then I drew my letters inside. I really liked the idea of drawing them at a slight diagonal to make the design more fun. I also drew the letters to be tall and narrow with slightly different sizes.
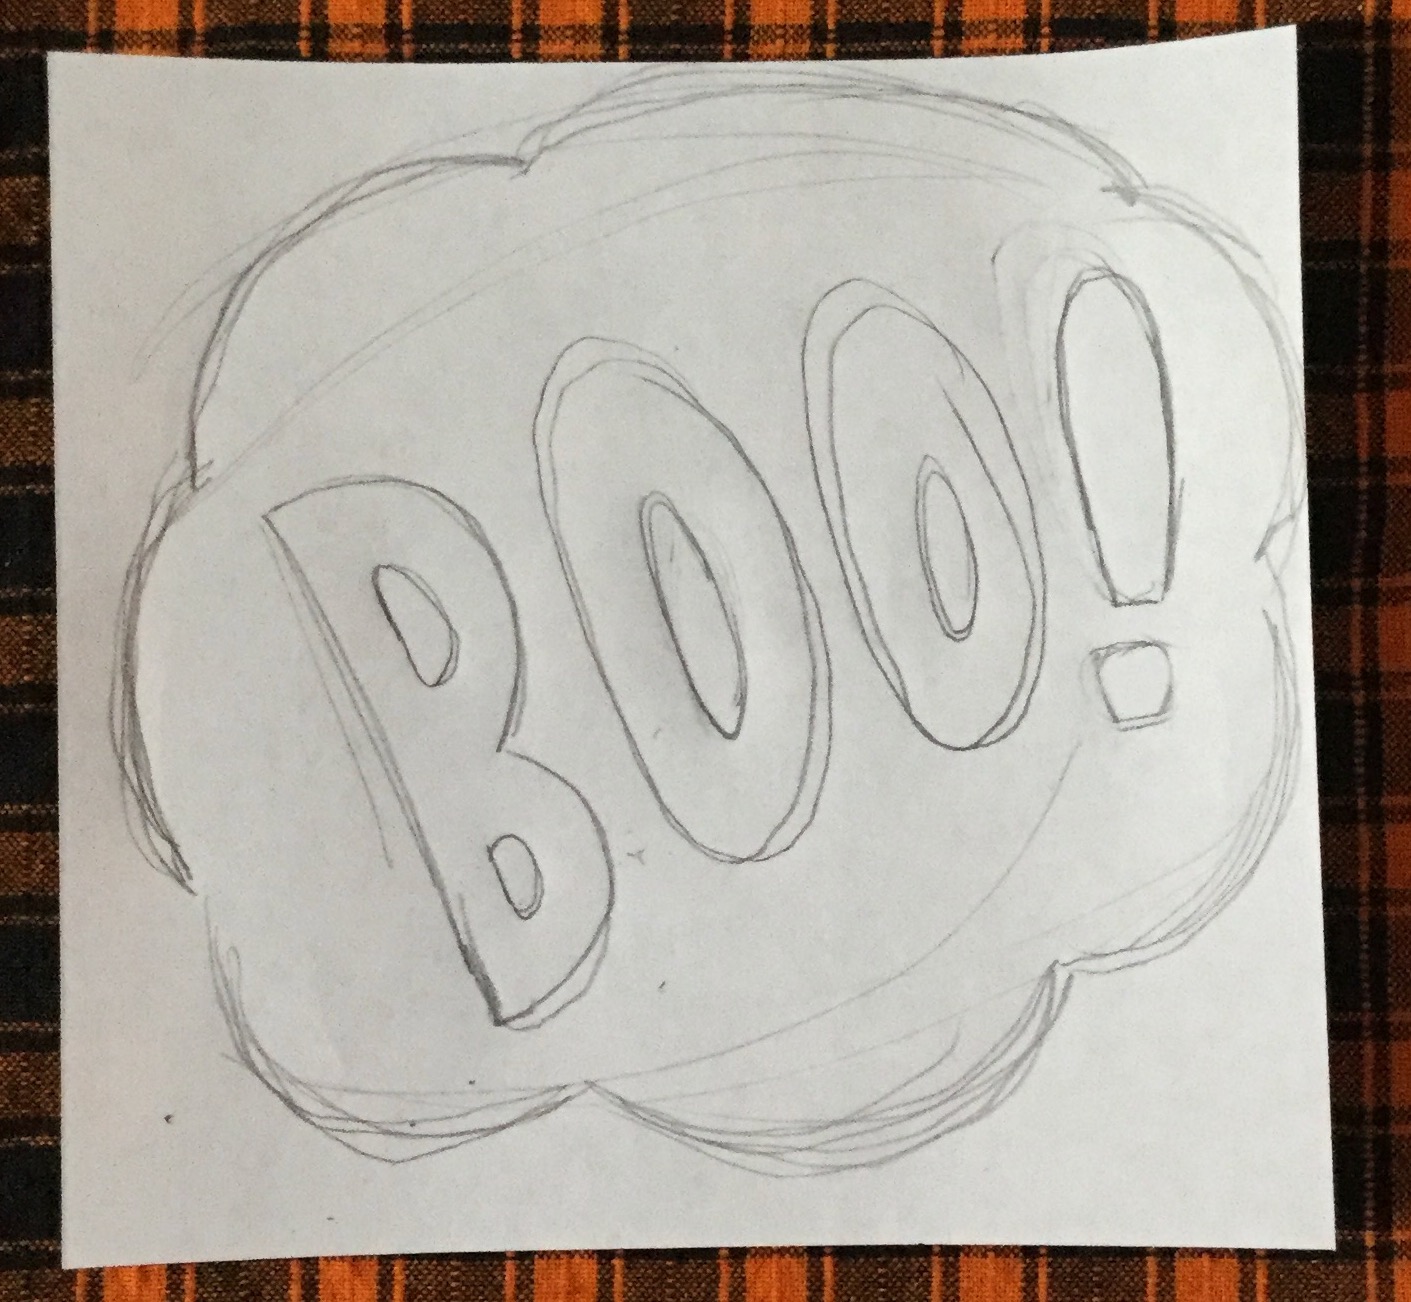
Cut your design out of paper. I used an exacto knife to get better details but you could also use scissors.
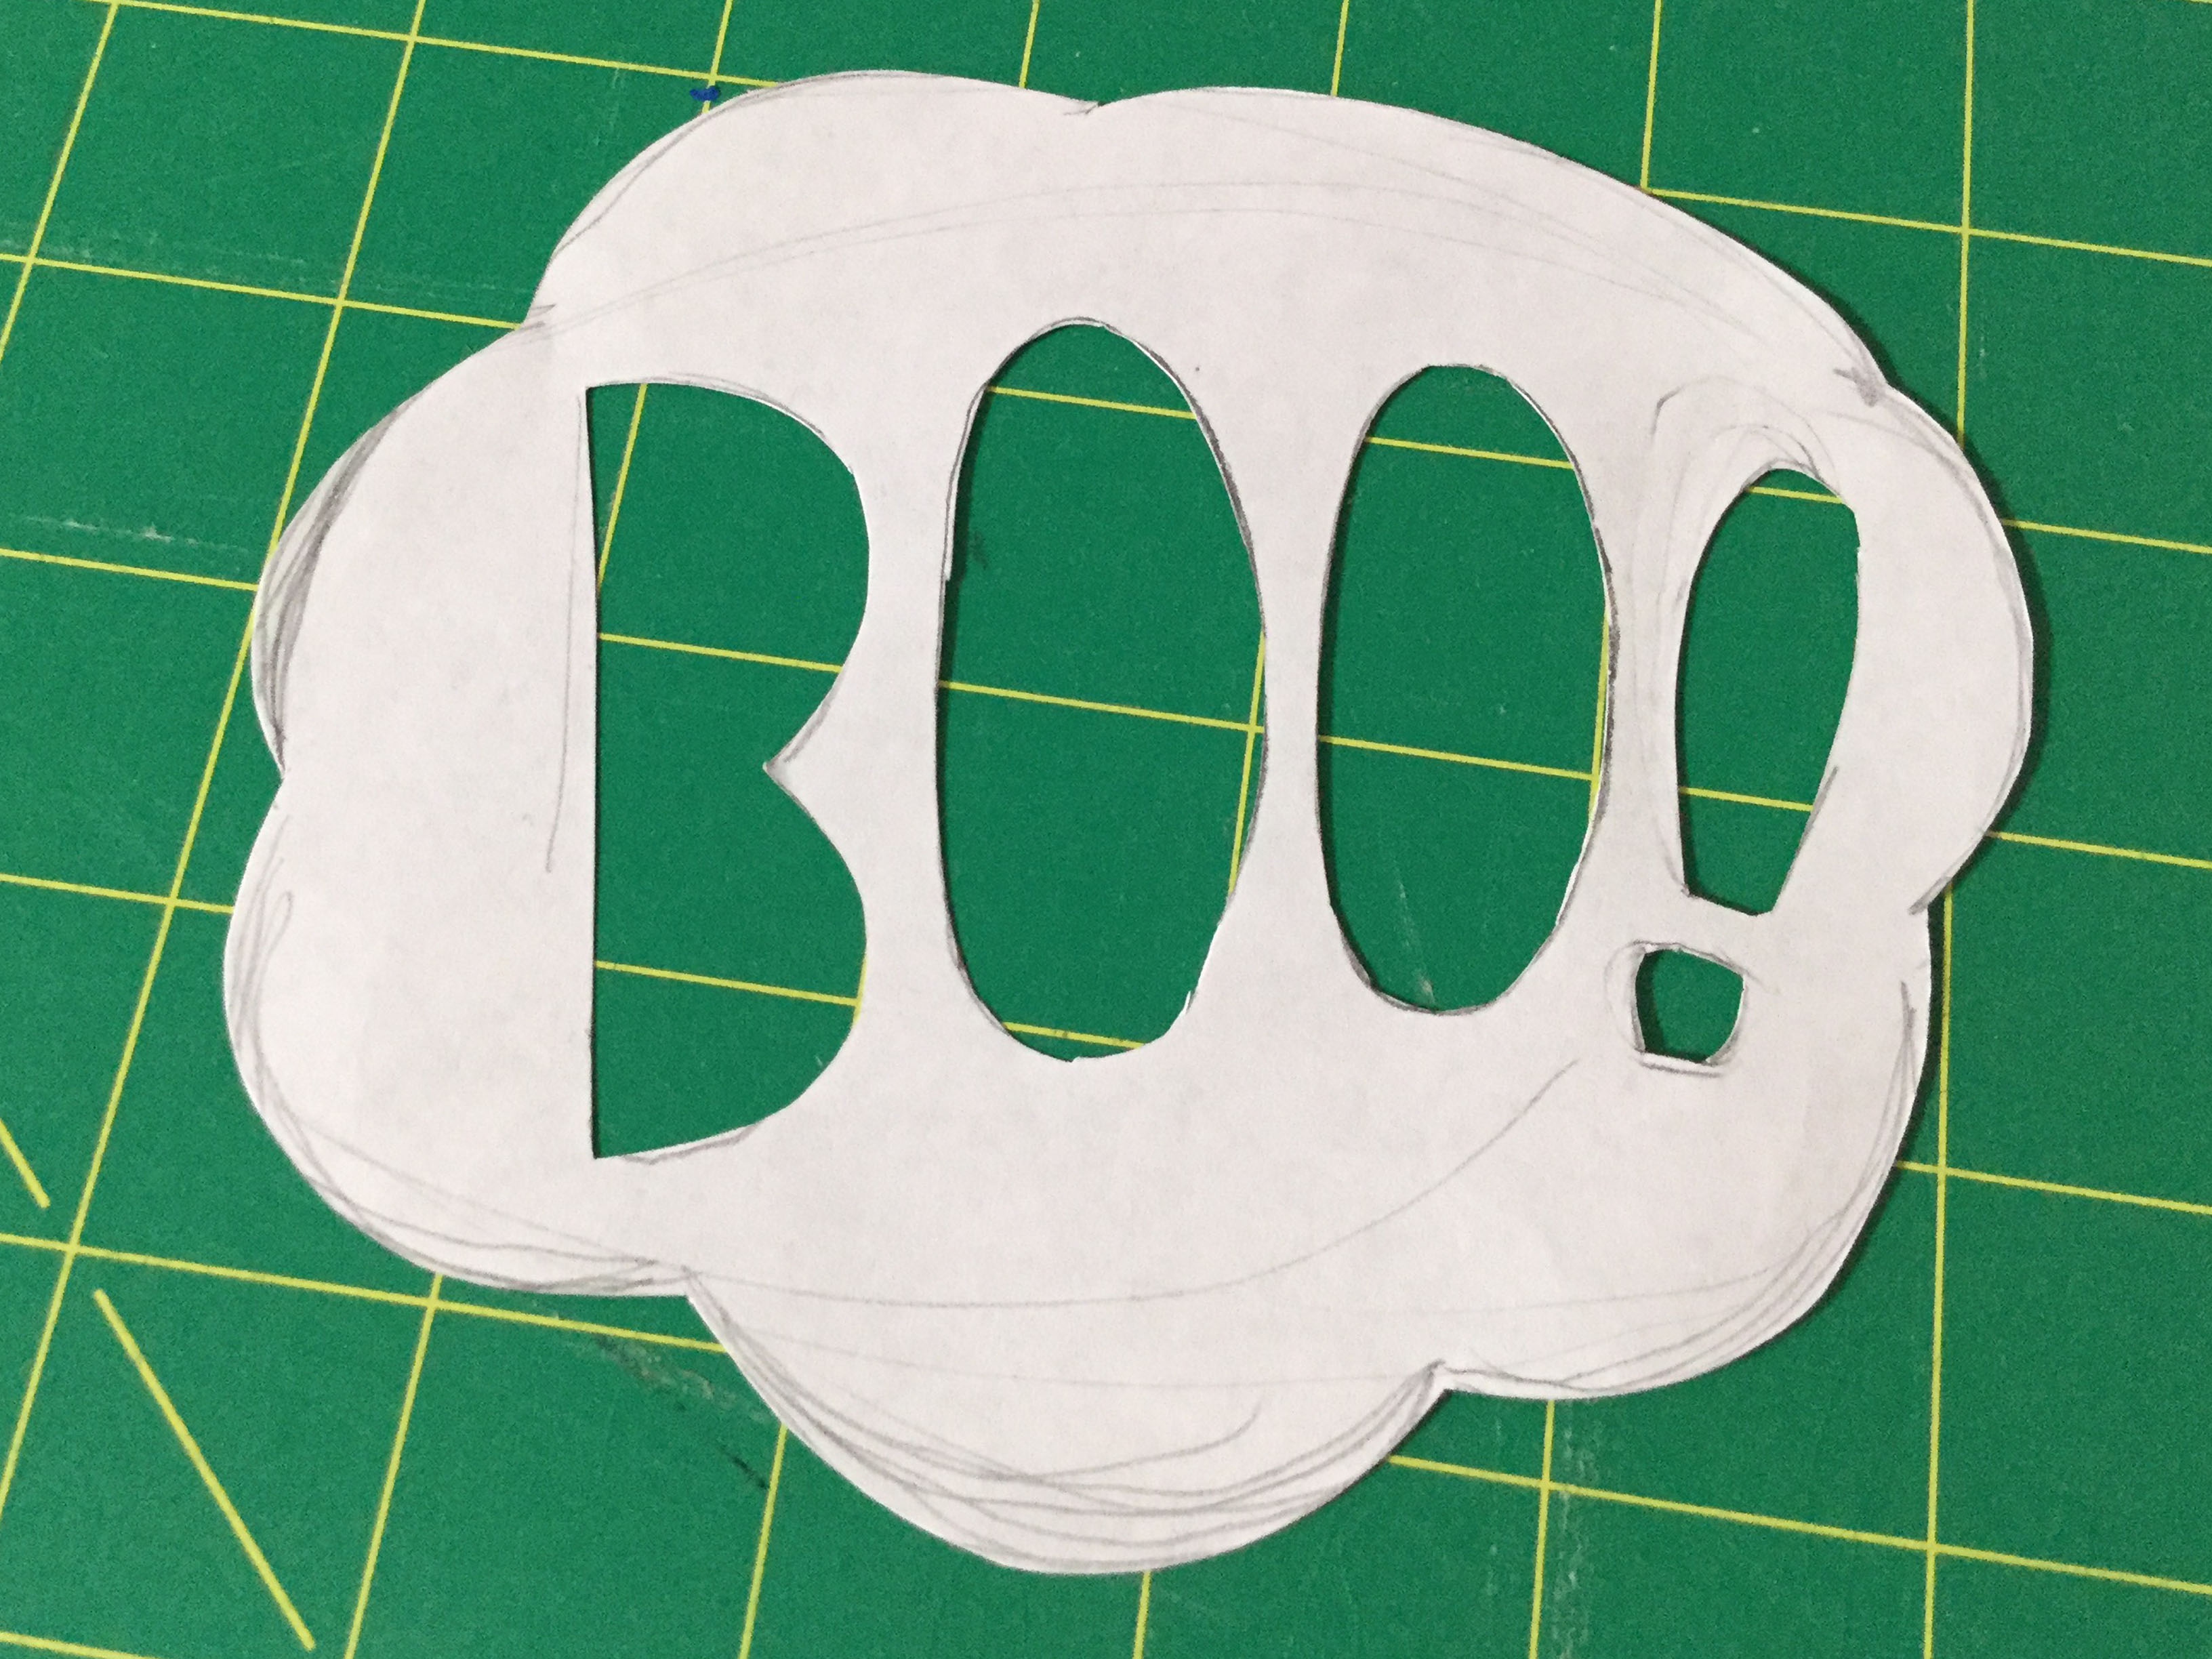
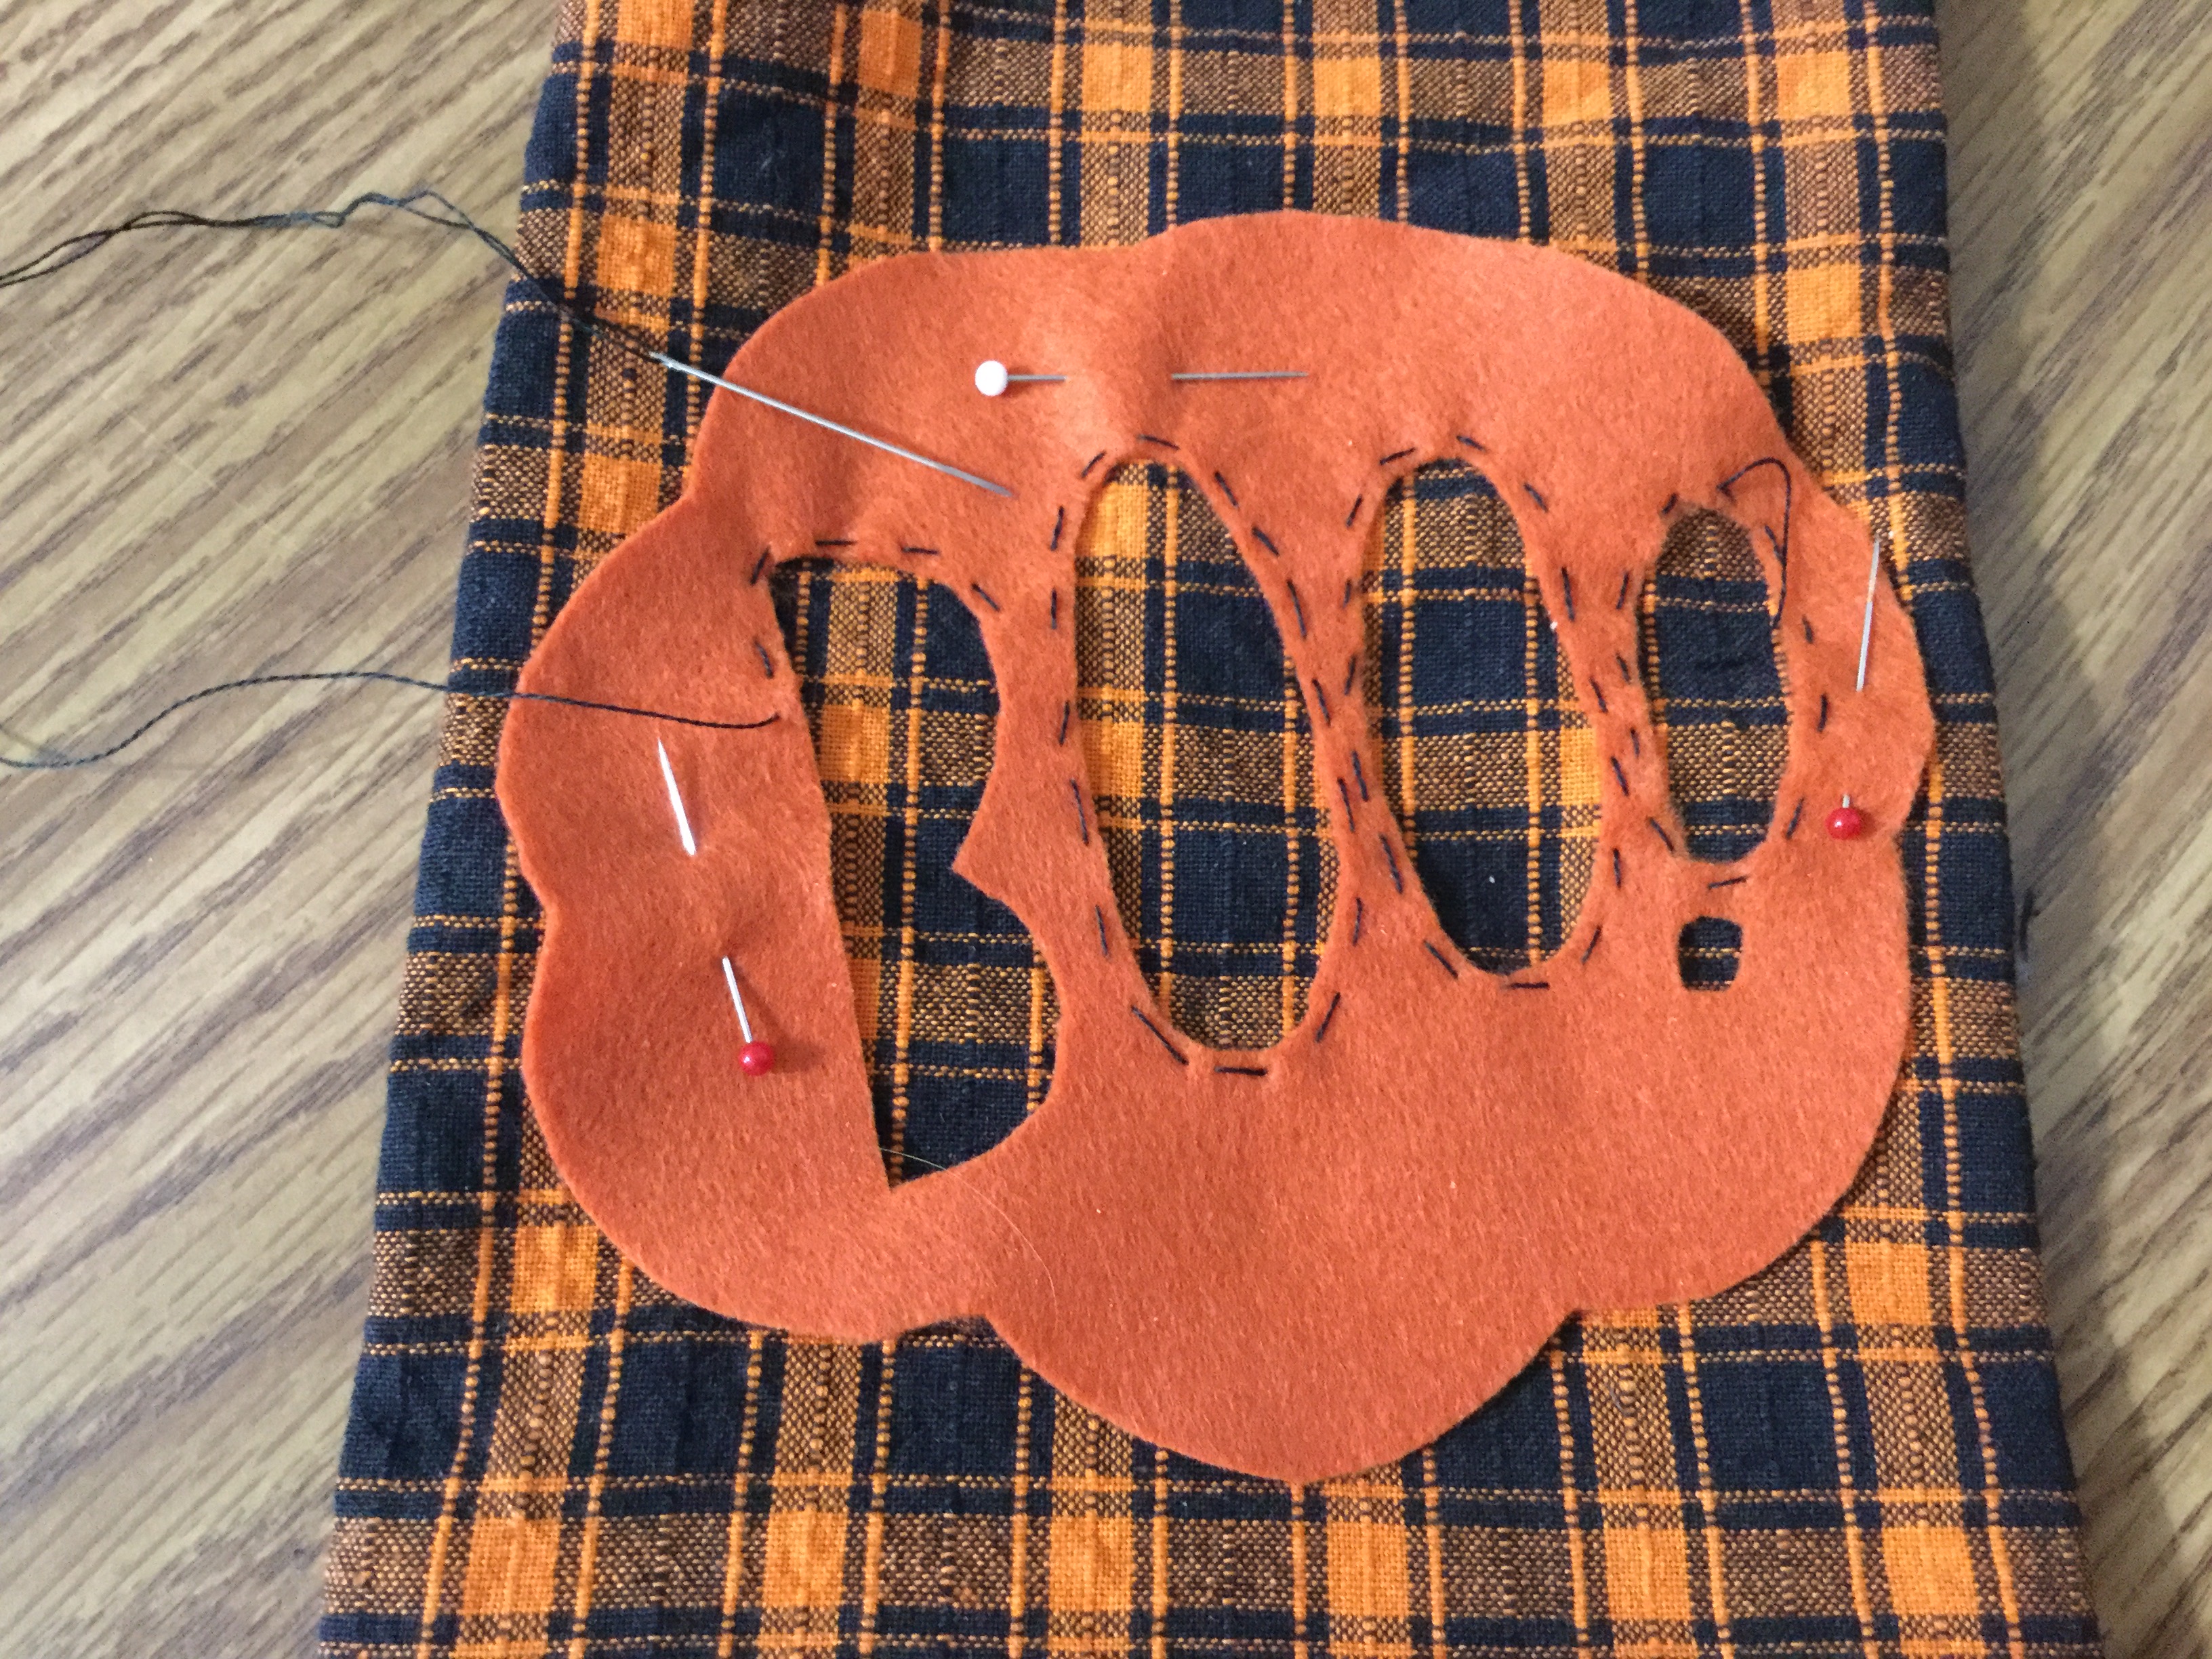
Pin your design to felt. Then, with a good pair of scissors, cut out your design. For the little pieces inside the letters, I did not use a pattern and instead free-handed it.
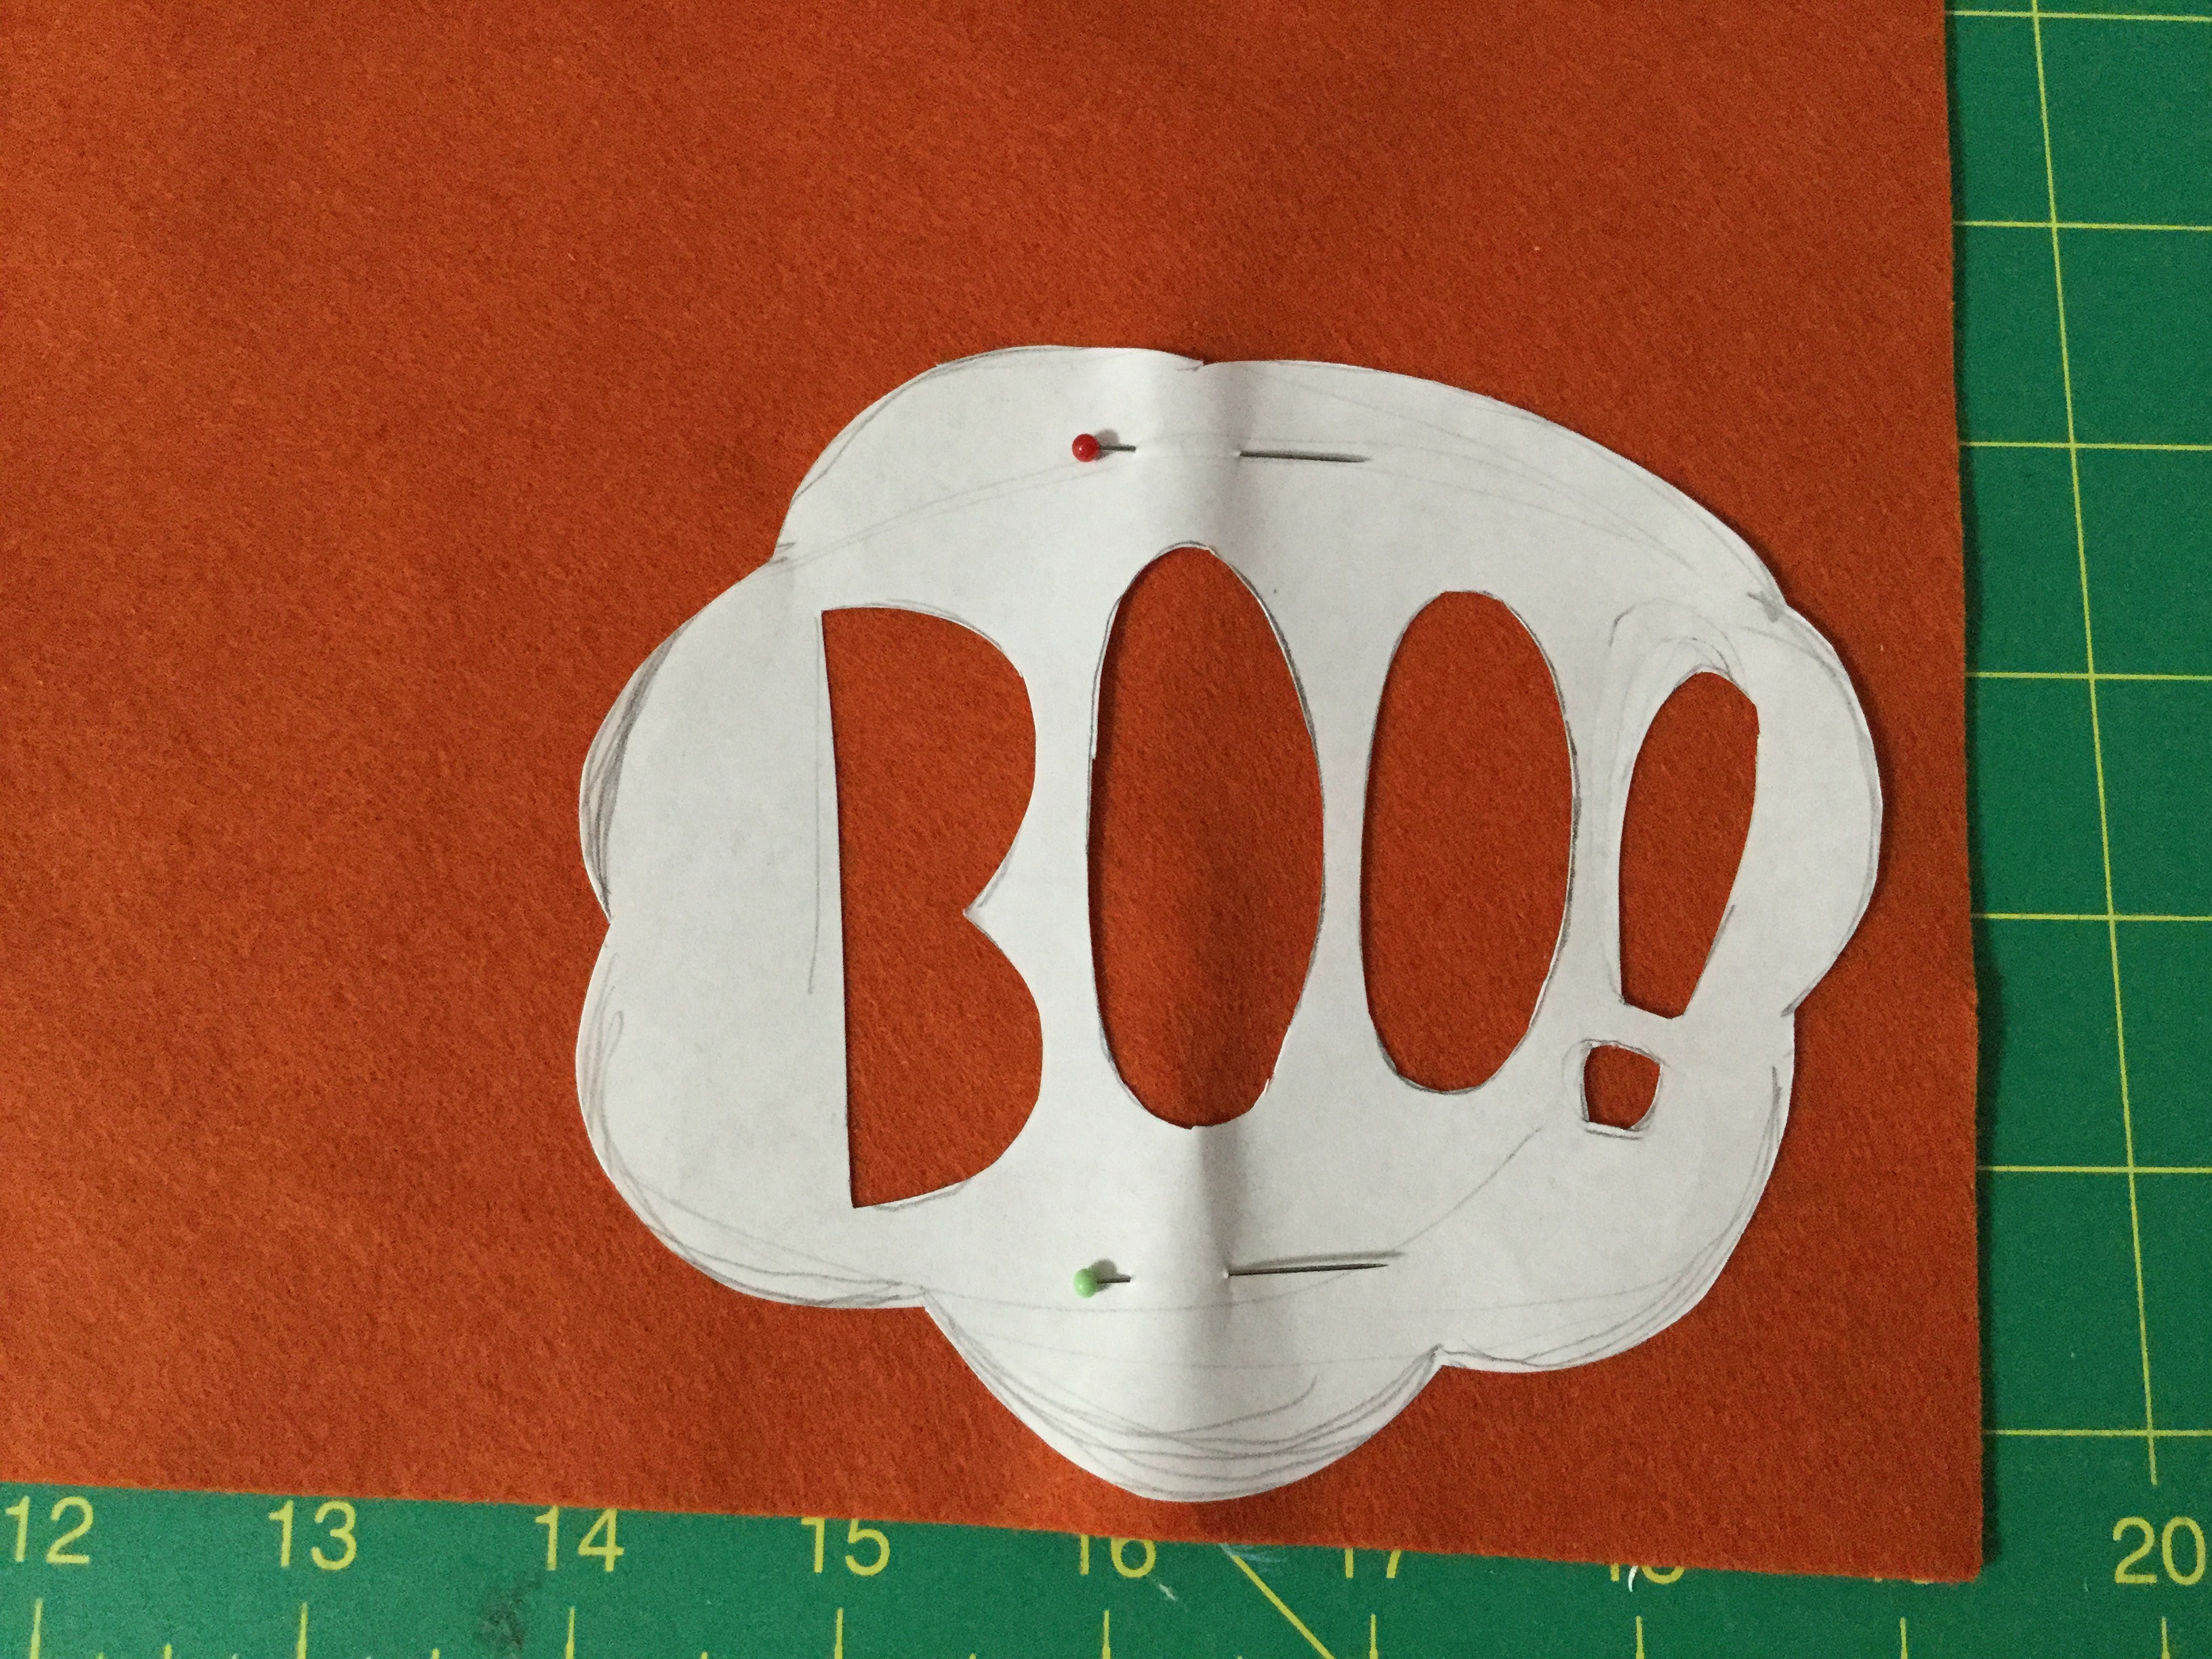

Next pin your design to the front your bag where you want it to be. Be careful not to pin the back of your bag with it!
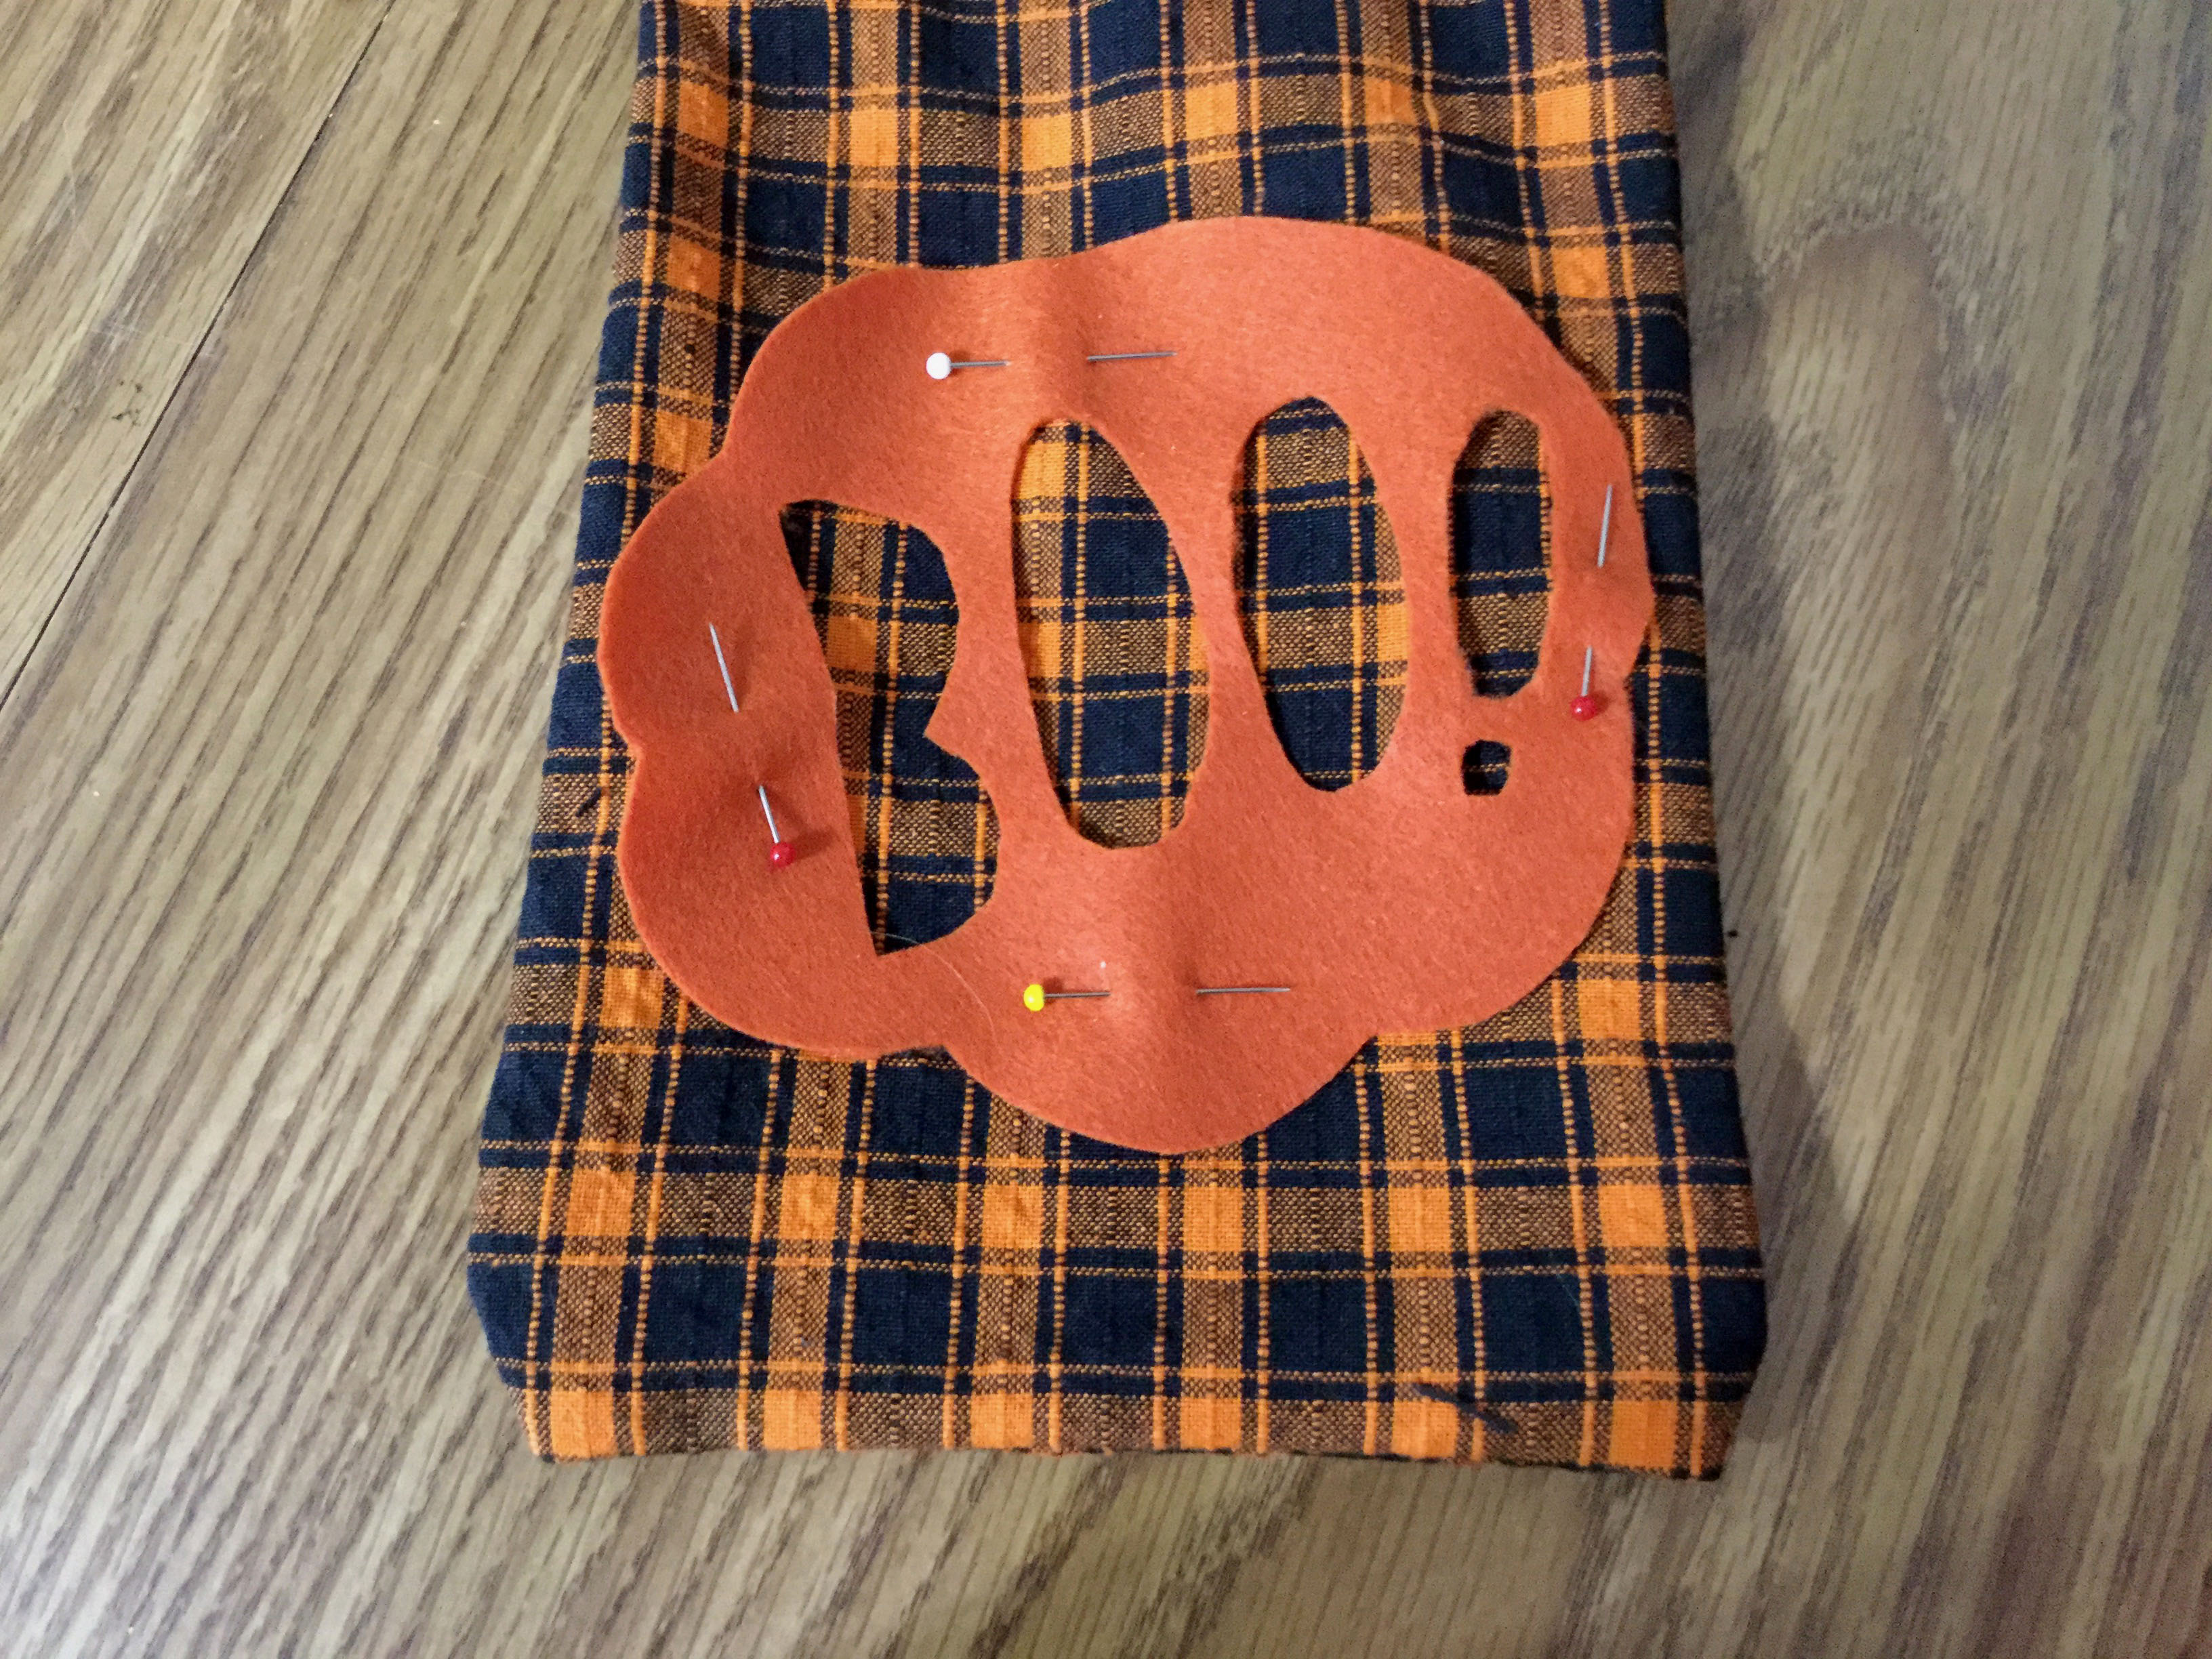
Take some embroidery thread and separate one strand. Thread your needle and begin making large stitches around every edge. This will take a little while. Tie the ends of your thread together on the inside of your bag.
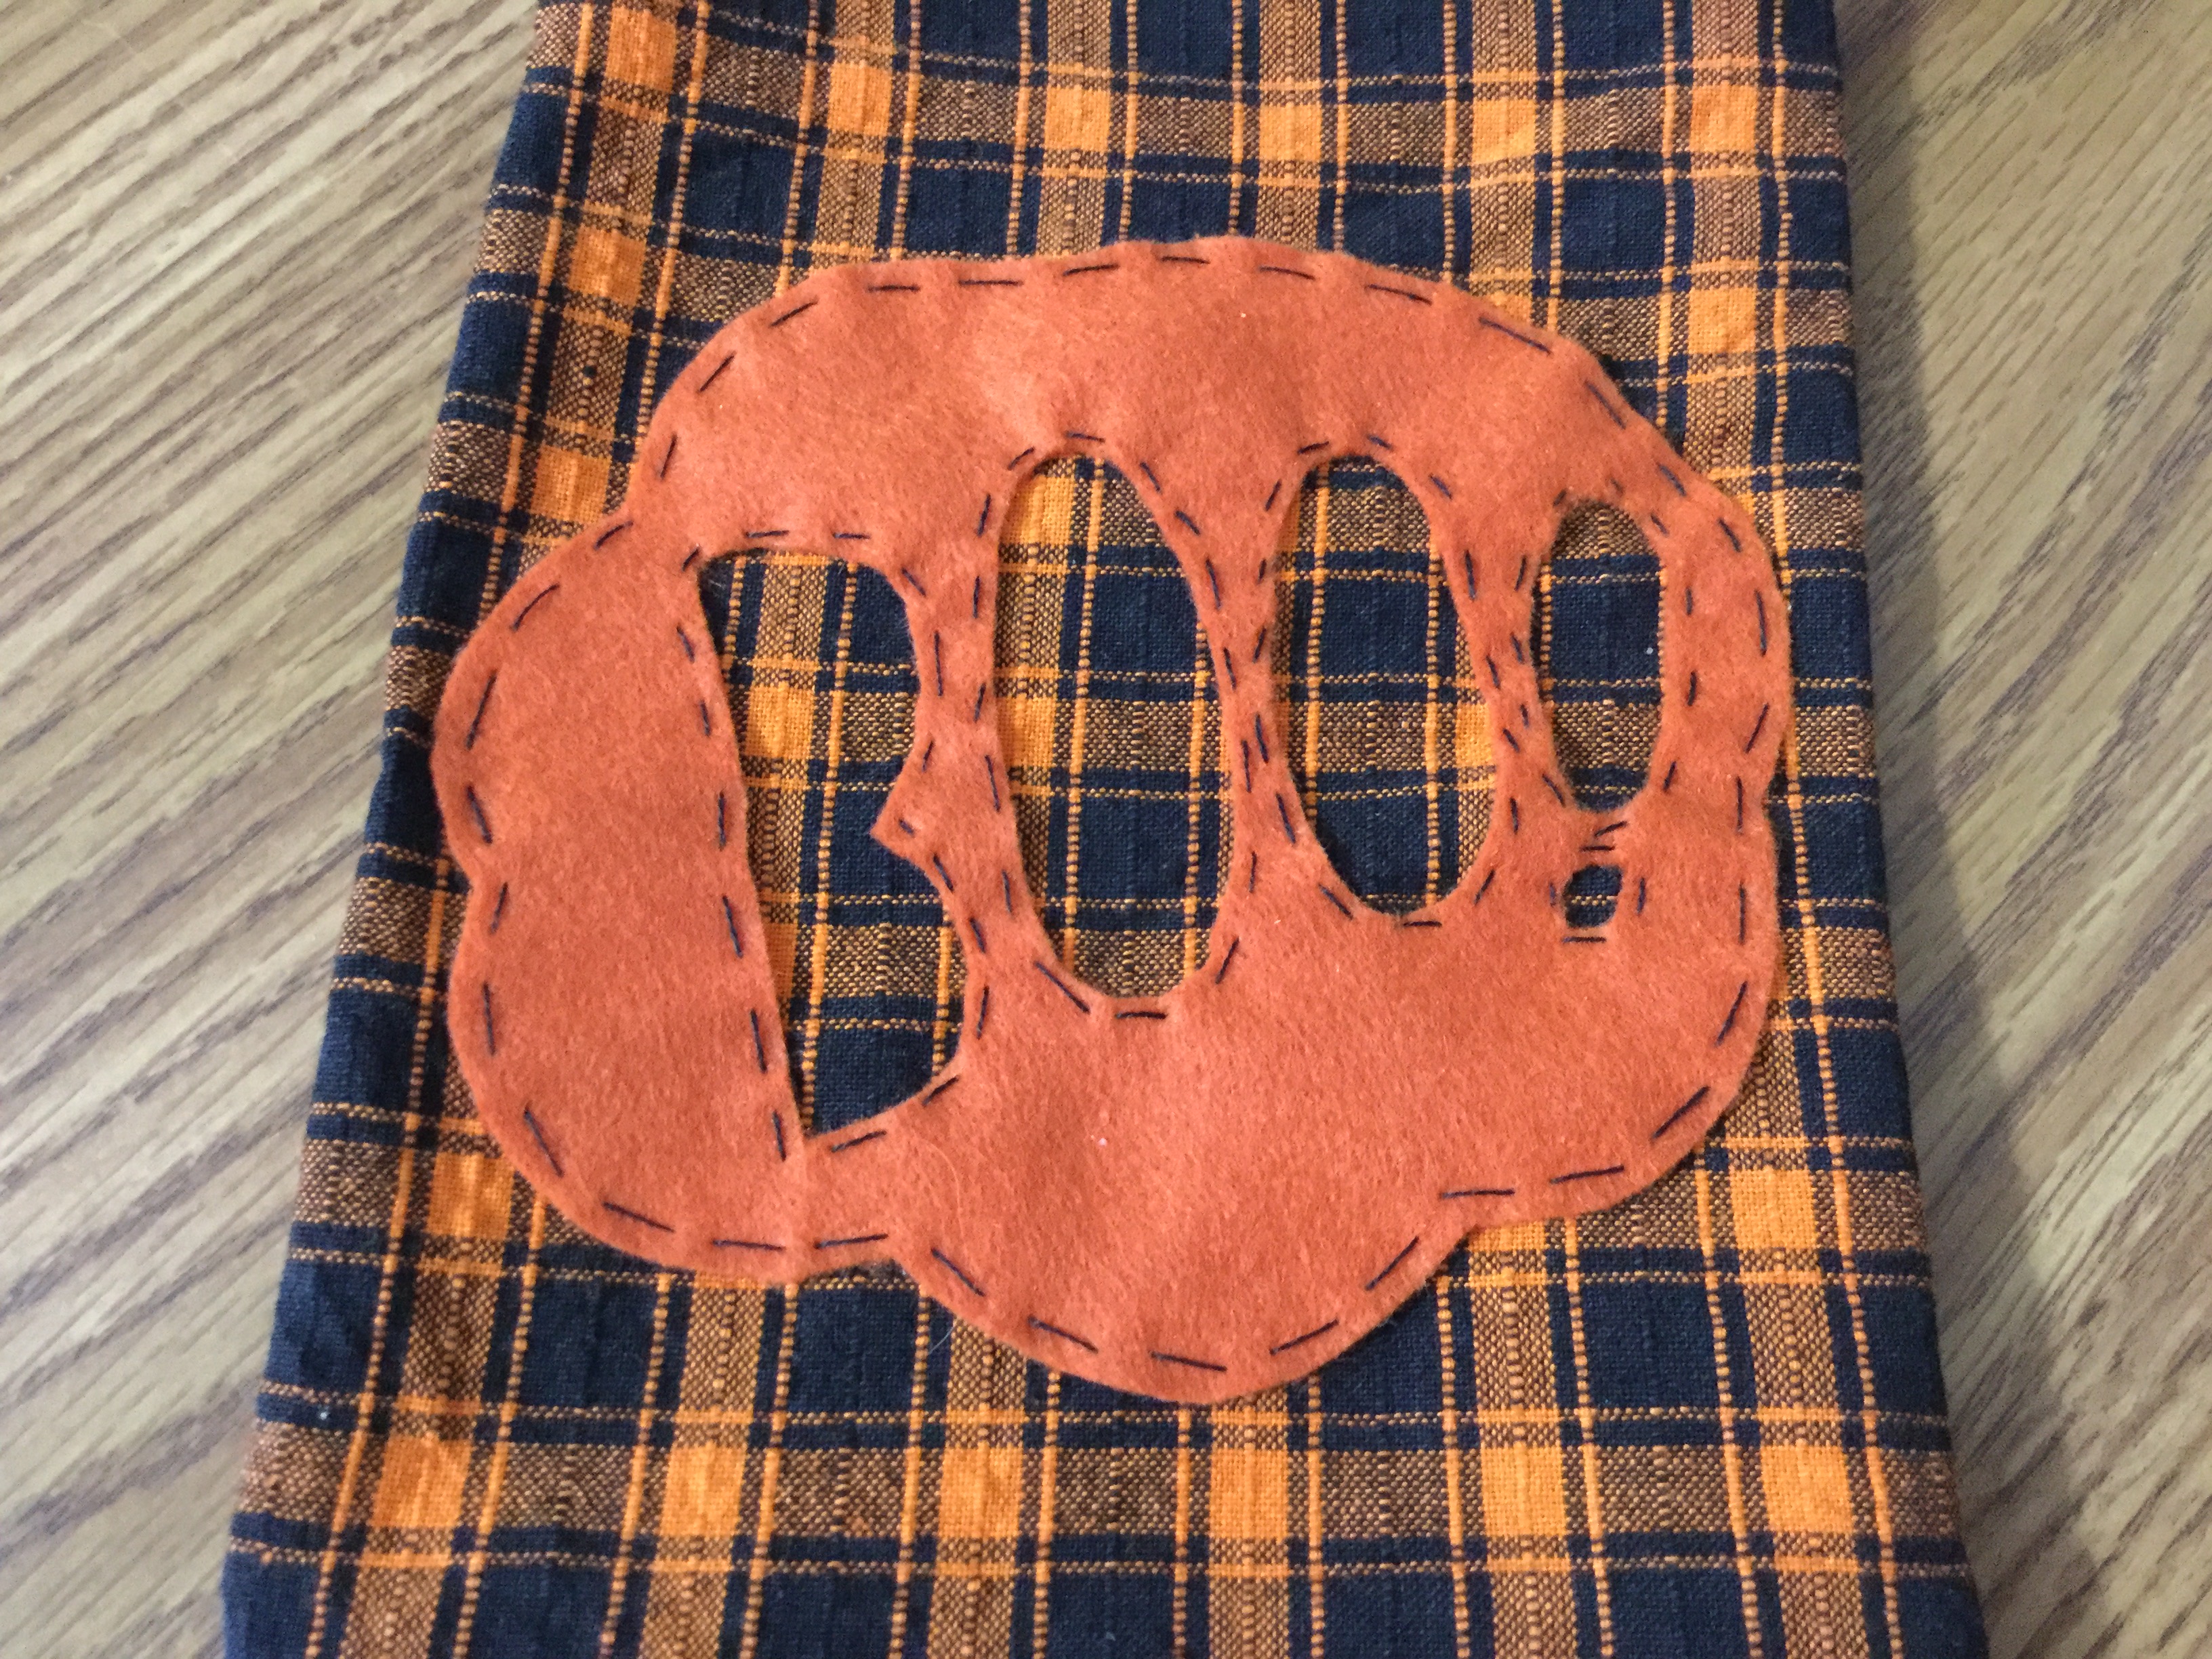
Finally, stitch the little shapes in the right spots. I used one long stitch for each one.
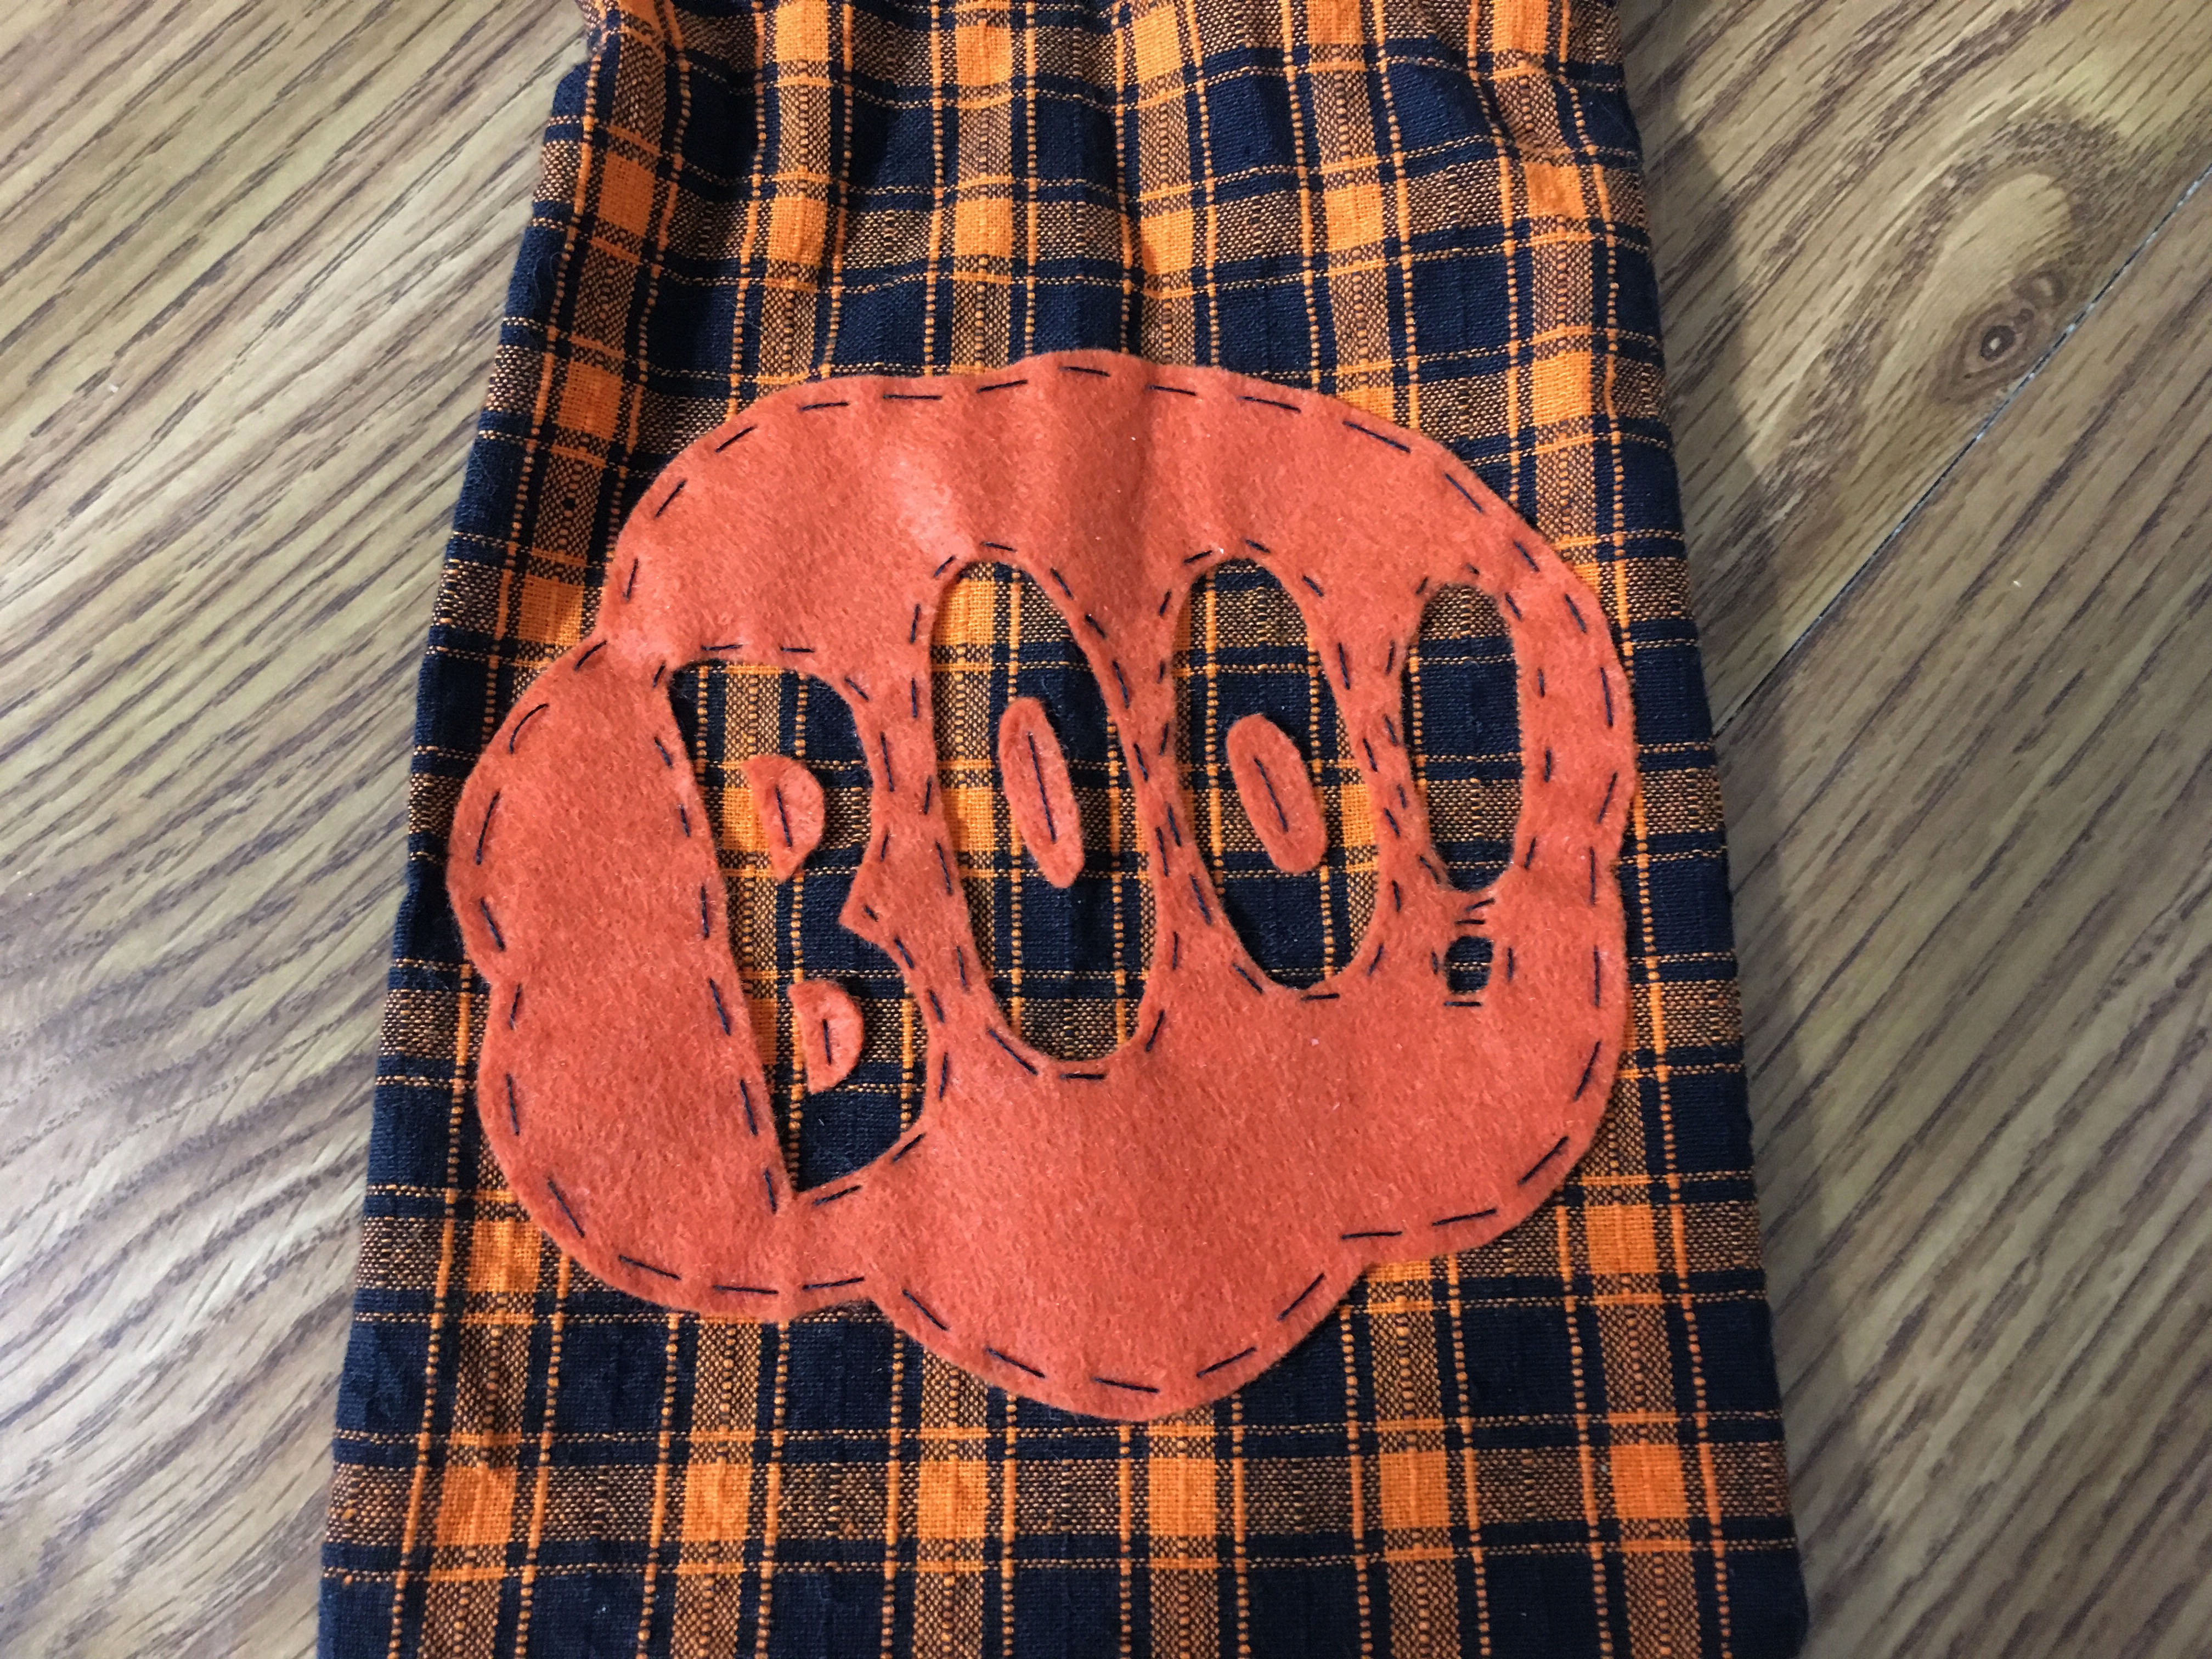
That’s it! Just tie some ribbon around the top and fill it with halloween snacks!